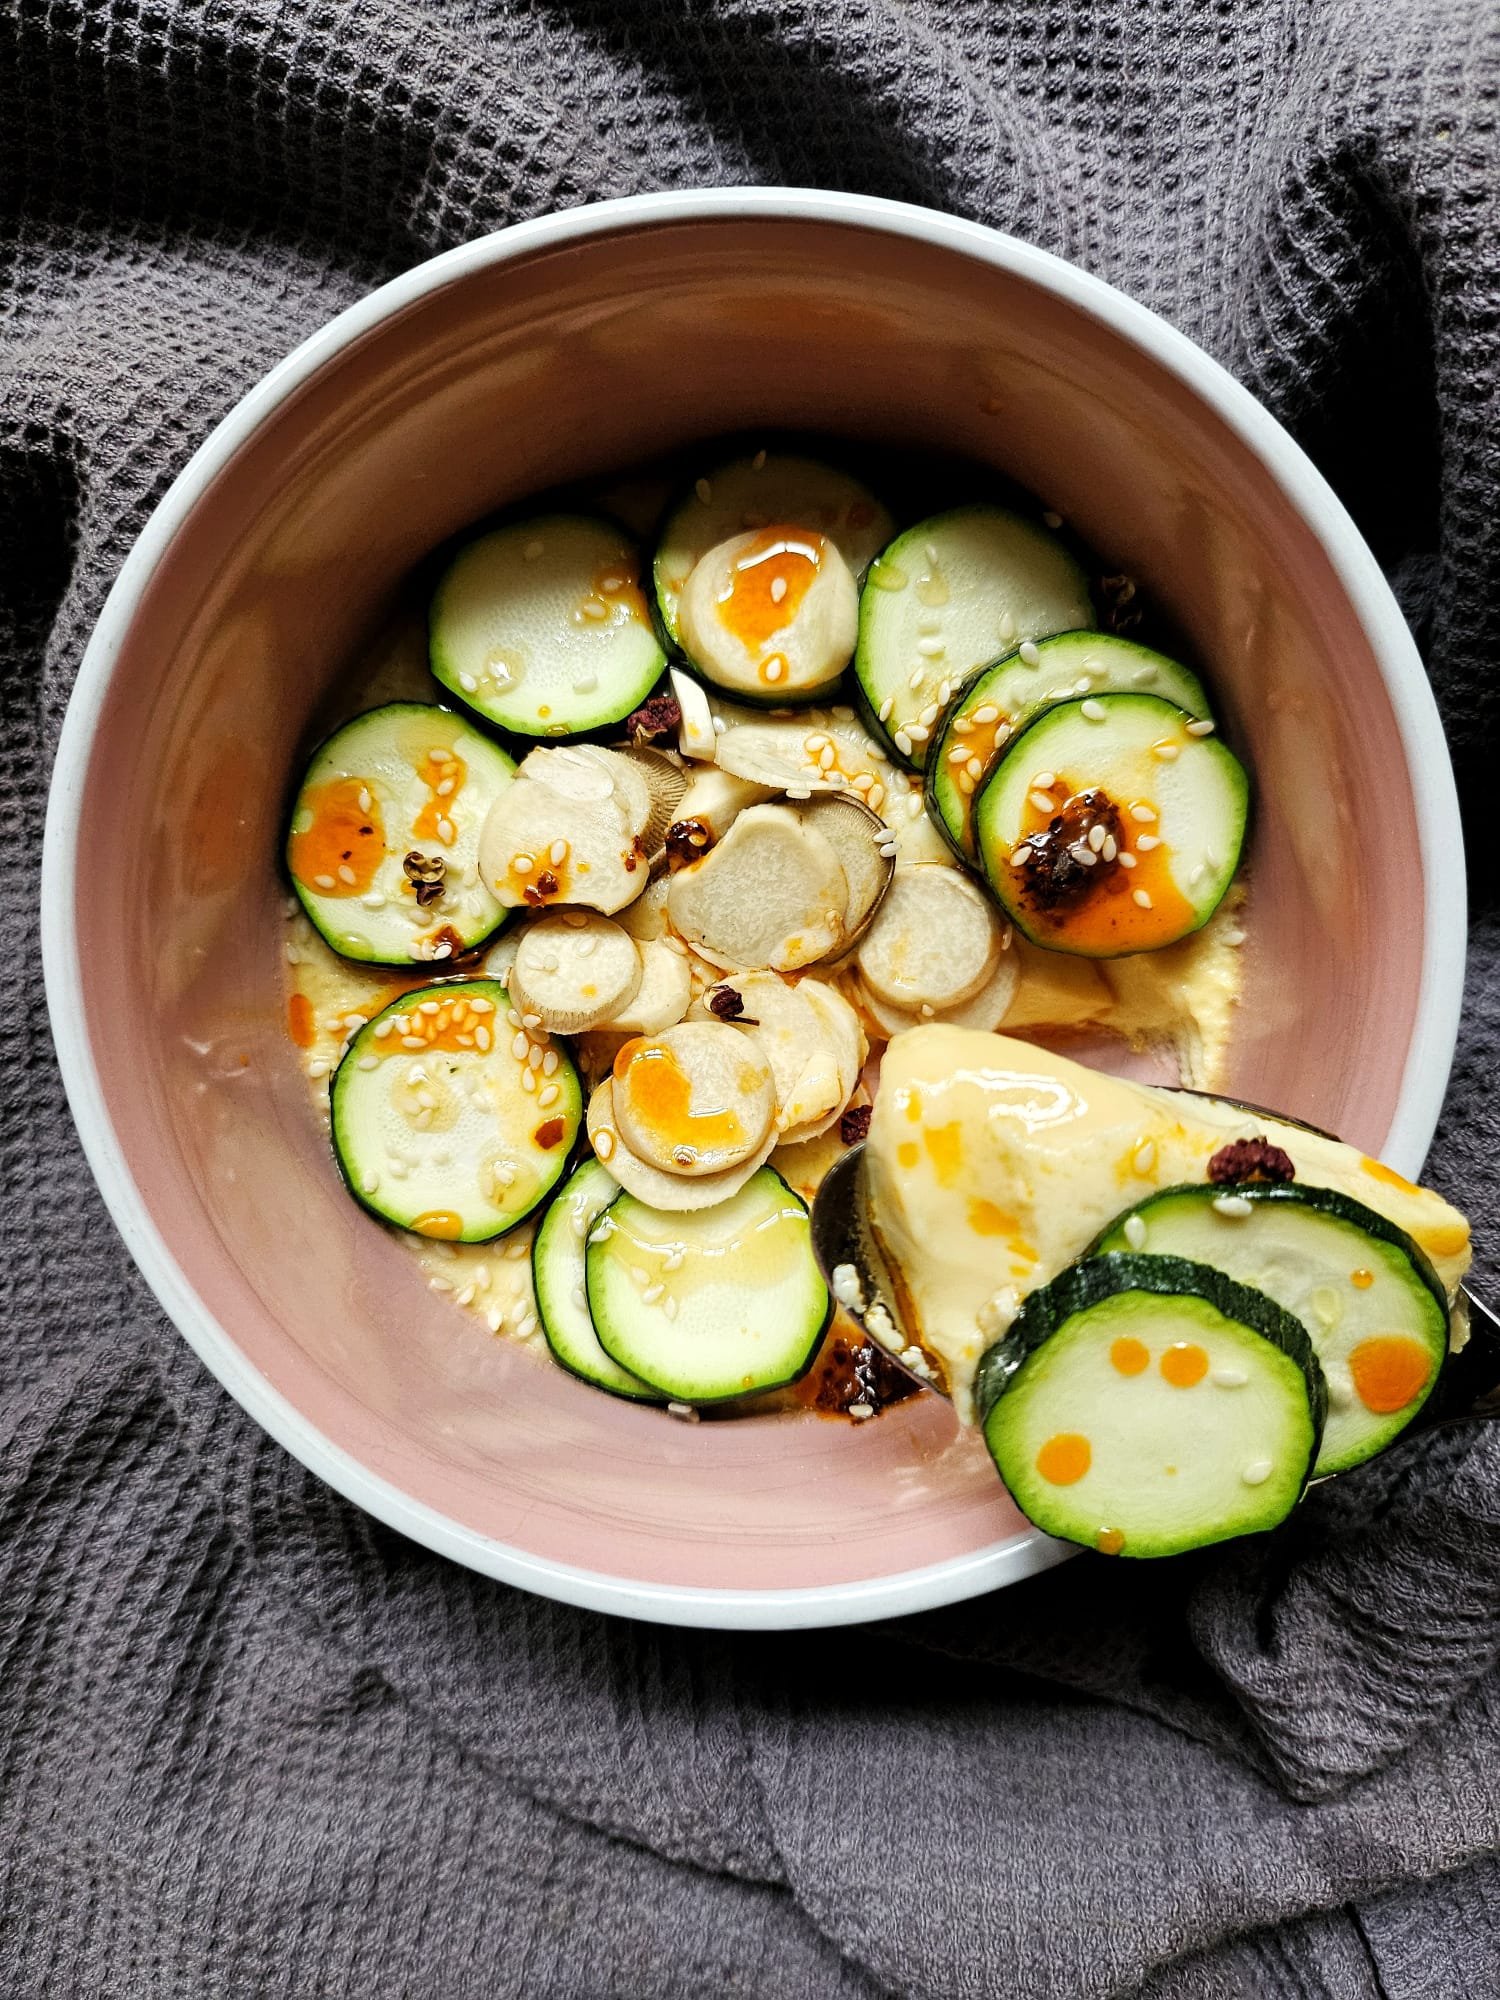
Steamed soy egg custard

I’m not excellent at making the time to have a proper breakfast. And as much as ‘intermittent fasting’ might have some science to back up its benefits, I’m personally trying to get in a bit more protein earlier in the day these days.

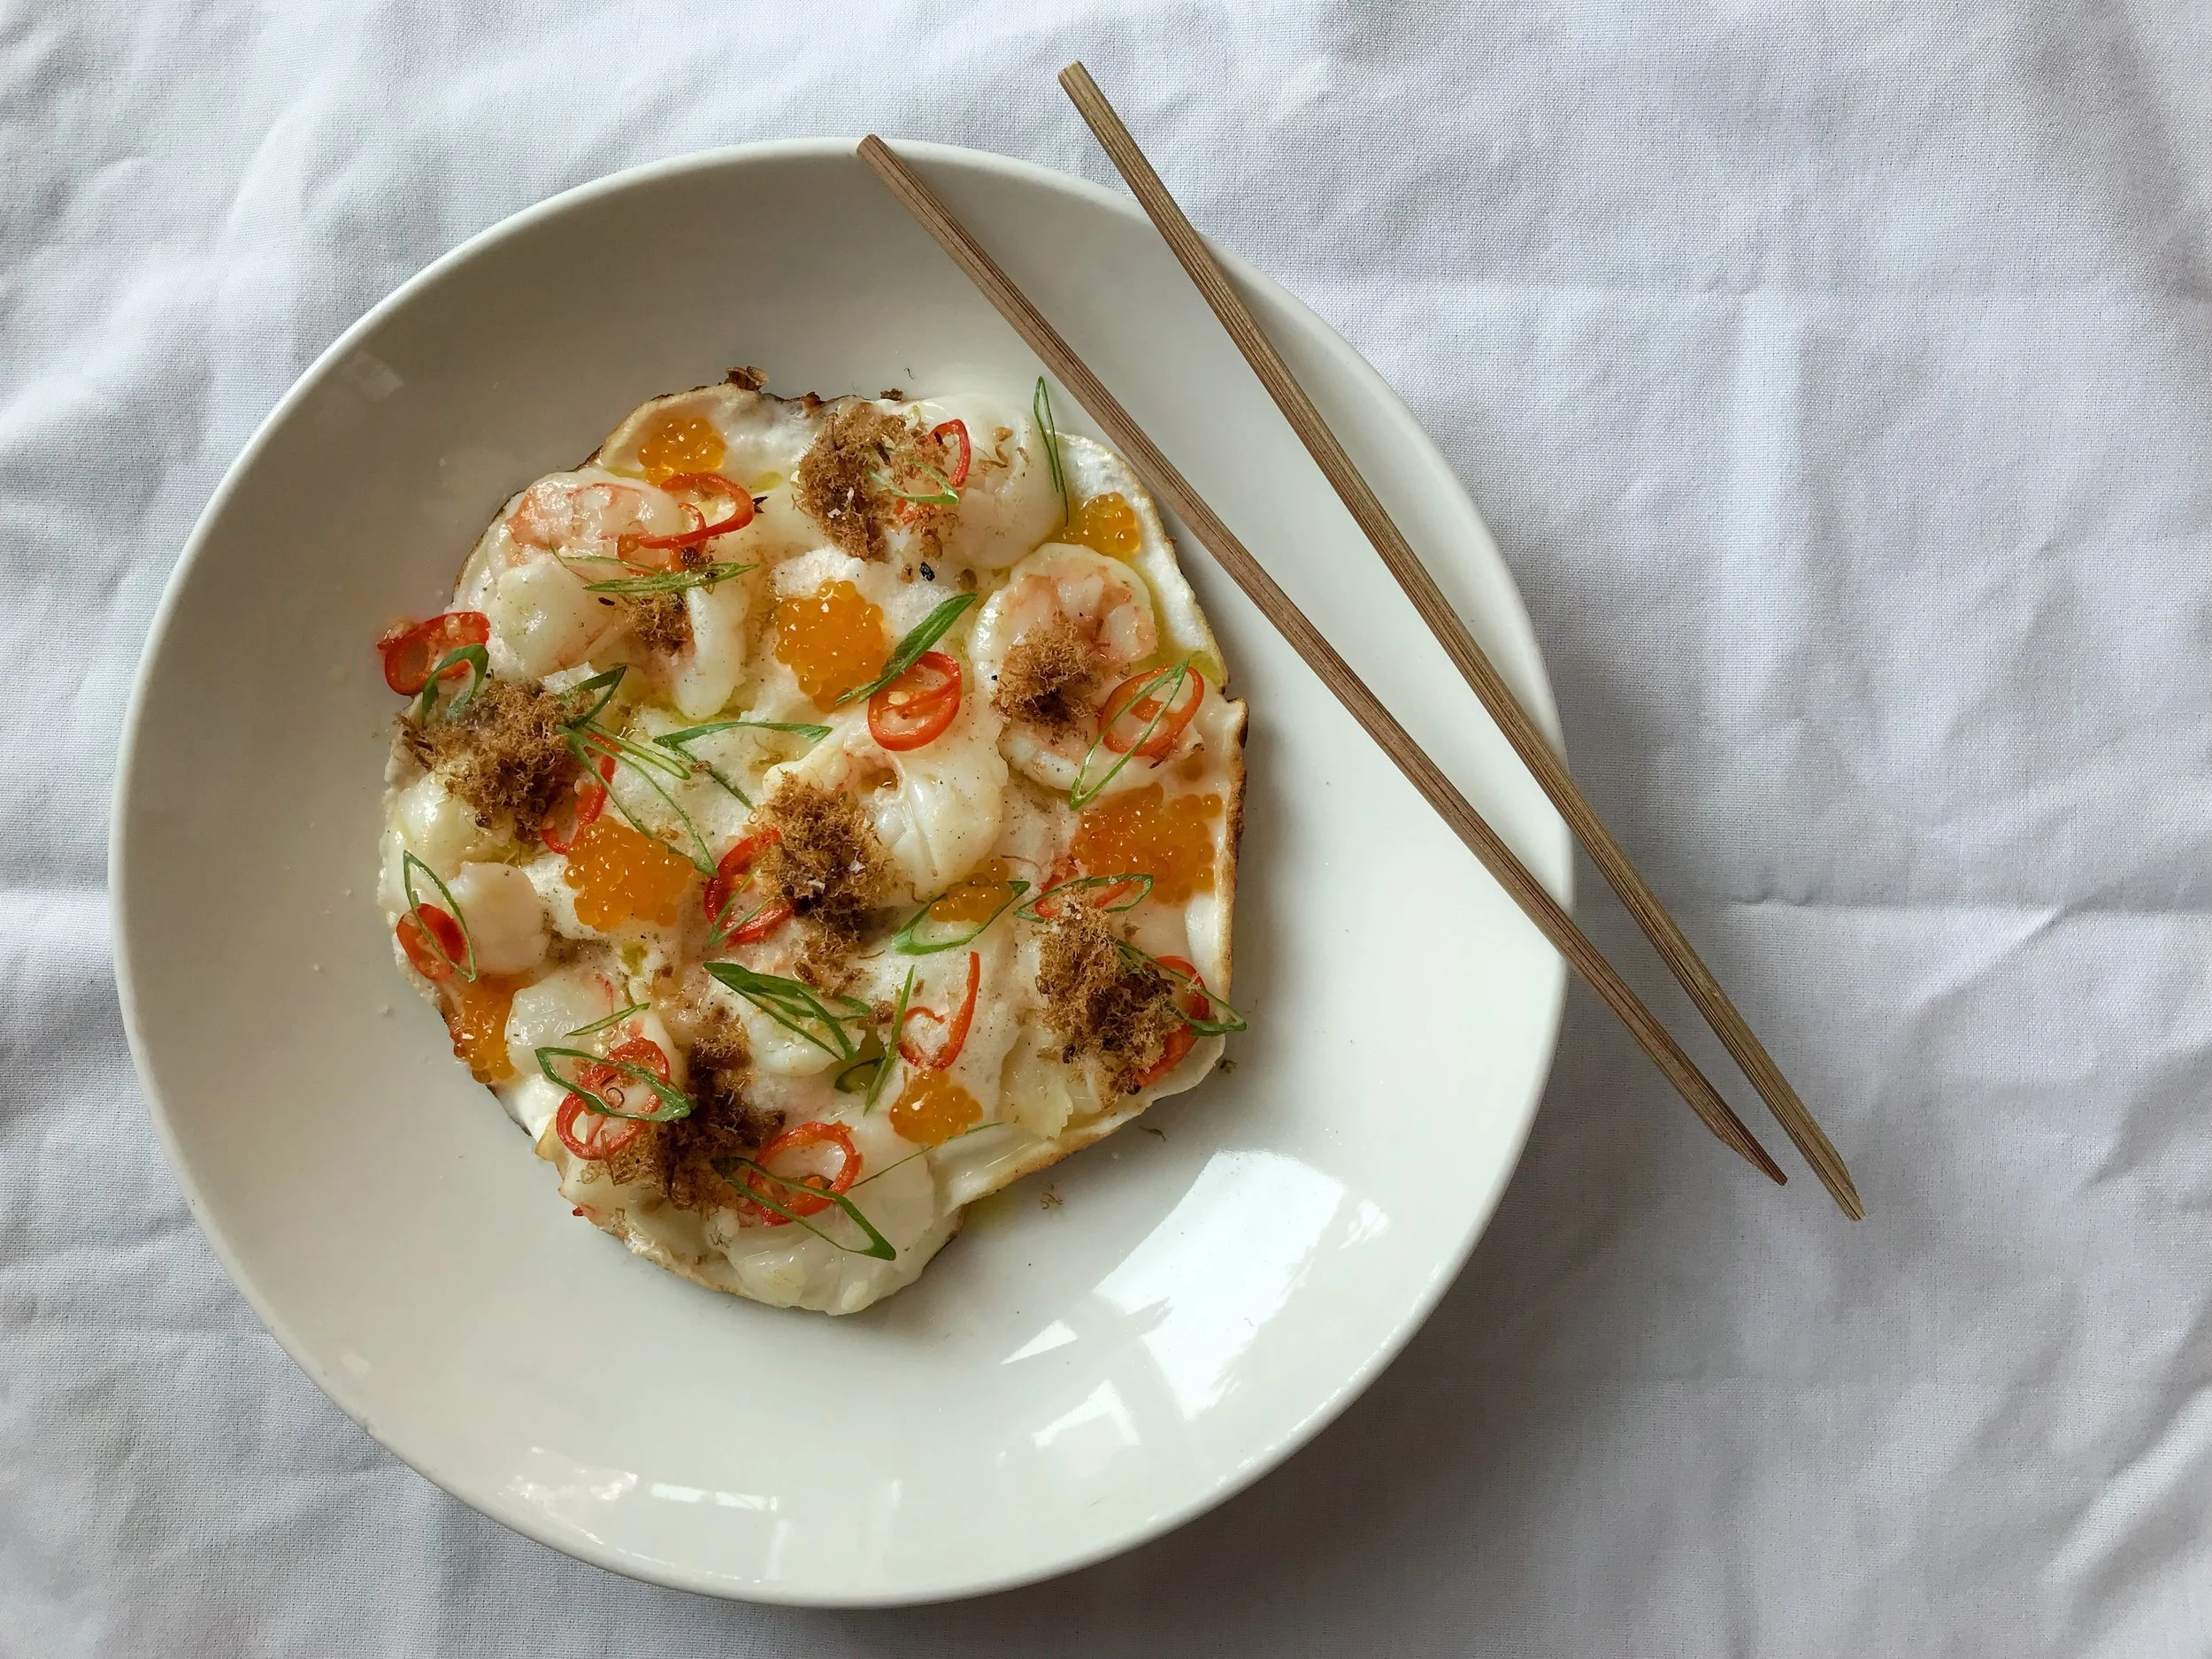
So here’s my soy steamed egg custard, topped with zucchini, mushrooms and Sichuan pepper-spiked chilli oil. You can customise it with pretty much any toppings you fancy, for a wiggly, jiggly good time!

If you’re anything like me, cooking the same thing day in and day out is a recipe for boredom, so here’s a handy egg dish that you can throw into the rotation. It’s easy to make and customise, as well as high protein and goddam delicious.

You could serve it alongside steamed rice, or eat it alone for a quick and simple something.

Ingredients - Serves 1

1 whole egg, plus 1 egg white

(save the other yolk in a jar and cure it in some soy and mirin in the fridge, thank me later)

1 tablespoon light soy

30ml water

Toppings

This is your time to shine. Or an opportunity to clear out your fridge. Anything from finely julienned ginger, to flakes of leftover fish, or any finely sliced veg works. I like mushrooms because they add another layer of savoury flavour to the end result.

1 baby king oyster mushroom, sliced into rounds

1/3 zucchini, sliced into rounds

Sichuan peppercorns

Your favourite chilli oil

Method

Whisk together the egg mixture and water until combined. Add the soy and whisk again. Pour into a shallow bowl that fits your steamer, or a pan with a lid. Cover the boil with foil or cling film, pop on the lid and steam for 10 minutes.

After 10 minutes, the custard should still be quite soft in the middle, but set around the edges. Top with your veg, cover again and steam for a further 5 minutes.

Once the custard is set, carefully remove from your steamer. Garnish your steamed eggs with chilli oil, a few drops of sesame oil, whatever you like - finely sliced ginger and shallots is also a great combo.

The Easiest Cake Recipe In The World: Lemon Drizzle Edition

A couple of years back, I shared what will remain The Easiest Cake Recipe In The World. Why? Because it’s so stinking easy, you barely need a recipe.

If you click the link above, you’ll get all the info you need, but essentially, all you require is equal weight of egg, butter, sugar and self raising flour. Whip it together you have the basis of a cake you can take in so many directions. Depending on the type of sugar (e.g. if you used brown sugar), you can switch up the density a little, but what you essentially have, is a moist butter cake with a decent crumb.

I love this recipe because it essentially consists of ingredients you will always have in your kitchen, and from there, you can do what you like to trick it up. From adding frozen fruit, chocolate chips and more, it’s an excellent one to have up your sleeve should you have an unexpected guest. Or, if you’re me, you just feel like making something sweet for yourself. One egg is roughly 56g without the shell, so weigh out the other ingredients, cream the butter and sugar, add in the egg, sift in the flour, add whatever else you like, and throw it in the oven. And voila! Cute cake for one.

Lately I’ve been loving turning this excellent base recipe into a lemon drizzle cake. All you need to do is add lemon zest to the batter (use your senses to know how much, but I’d use about half a lemon’s worth of zest for a cake for one). I also like to add a little vanilla paste.

Once the cake is baked (about 25 minutes on 180c), this is the hardest part: release it from its pan, invert it and allow it to cool completely before you ice it. See? Hard!

Once fully cool (this is essential), I make a soft icing consisting of lemon juice and icing sugar. Eyeball it until you have a thick, glossy, viscous texture. Pour this glossy wonder onto the cake, and carefully spread it without shifting crumbs, so you have an even, glossy topper. Finish with more lemon zest. Perfect with a cup of tea!

One Pan Wonder: creamy braised butterbeans with leek, bacon, zucchini and tomato

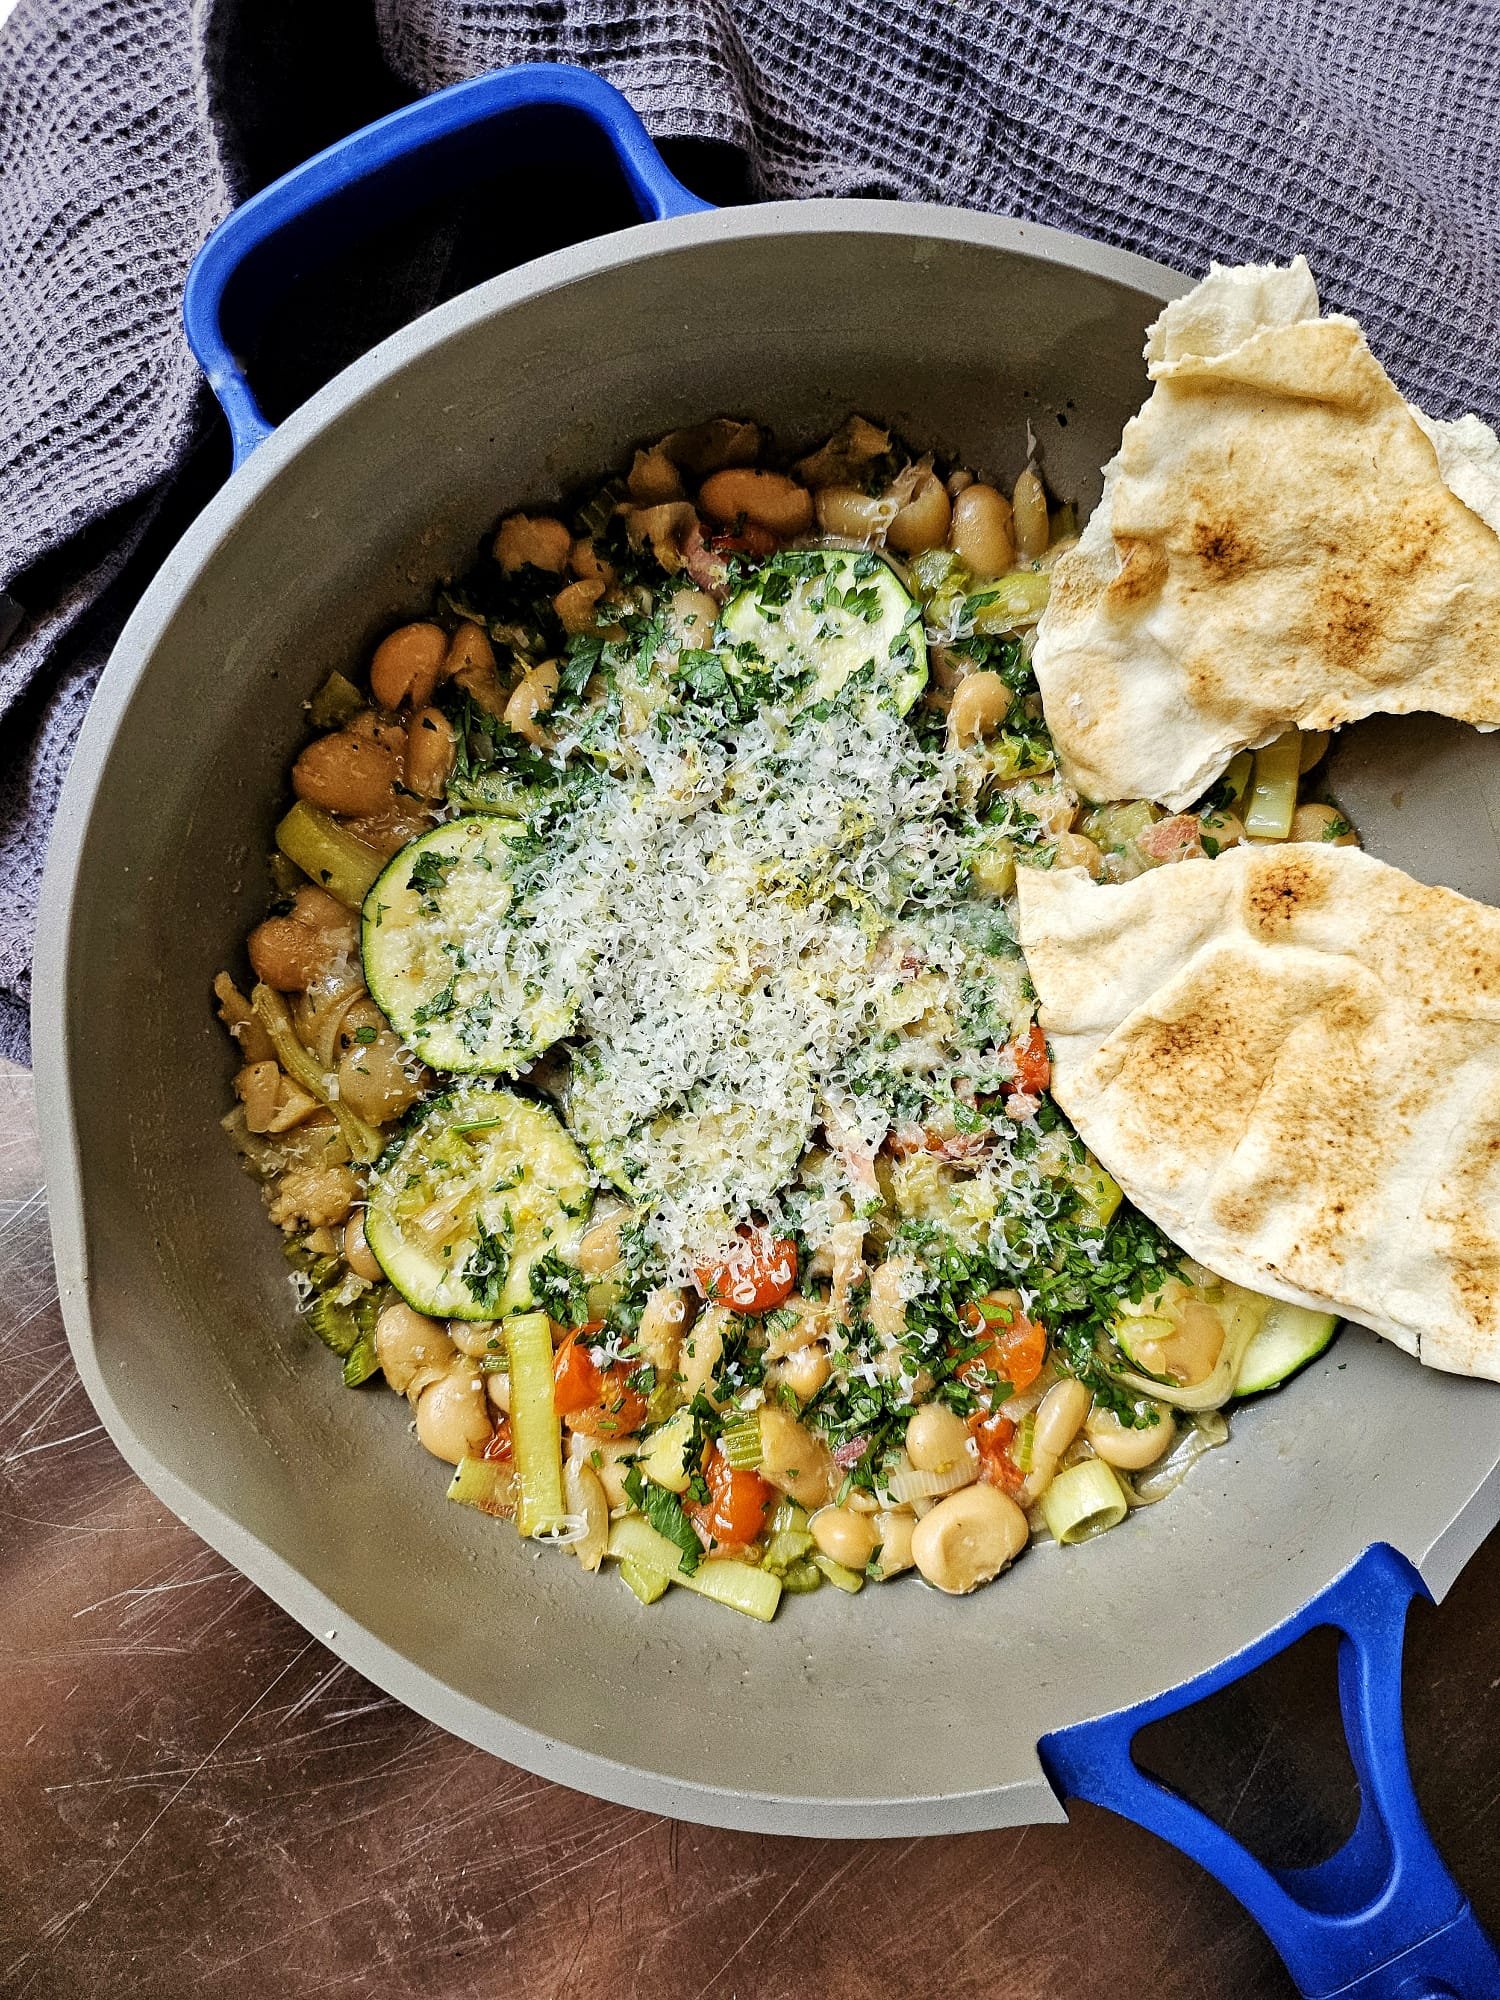
Creamy braised butterbeans with leek, bacon, zucchini, and cherry tomatoes. A satisfying one pan meal that requires very few brain cells to produce, but is big on flavour and satisfaction.

I like to cook dishes like these when I'm tempted to order in, but know I needn't (do better, Mel).

Ingredients

1/2 leek, sliced into 1cm rounds

1 knob butter

1 rasher middle bacon, sliced into matchsticks

1 stalk celery, finely chopped

1 tin butterbeans, rinsed

1 cup chicken stock

1 handful small cherry tomatoes (or regular cherry tomatoes, halved)

1/2 zucchini, sliced into 1/2cm rounds

To serve:

A handful flat leaf parsley, finely chopped

Parmesan, microplaned

1/4 lemon, zested

salt and black pepper, to taste

Method


Soften half a leek sliced into rounds in butter for 1-2 minutes on medium heat, then add in a handful of sliced bacon and a stalk of celery, finely chopped.

Once the celery is translucent, add in a tin of rinsed butterbeans, a cup of chicken broth, and allow to simmer for 10 minutes.

Add in a handful of small cherry tomatoes. When everything starts to soften as one (another 10-15 mins), use the back of a wooden spoon to gently smoosh some of the beans and tomatoes to help it all amalgamate.

Add the sliced zucchini and season to taste with salt and black pepper. Simmer until the broth and beans come together happily in a thick saucy consistency (you'll know).

Finish with finely chopped flat leaf parsley, grated Parmesan, lemon zest, and a subtle blessing of olive oil.

Serve with good bread. We like that stuff.

P.s the super cool blue pan was a gift from Our Place. 💙

Sichuan Spiked Ginger Pork

We all need those recipes we can go to when we are short on time or inspiration, to deliver something delicious, every time. It’s a good way to minimise the temptation to order in, too.

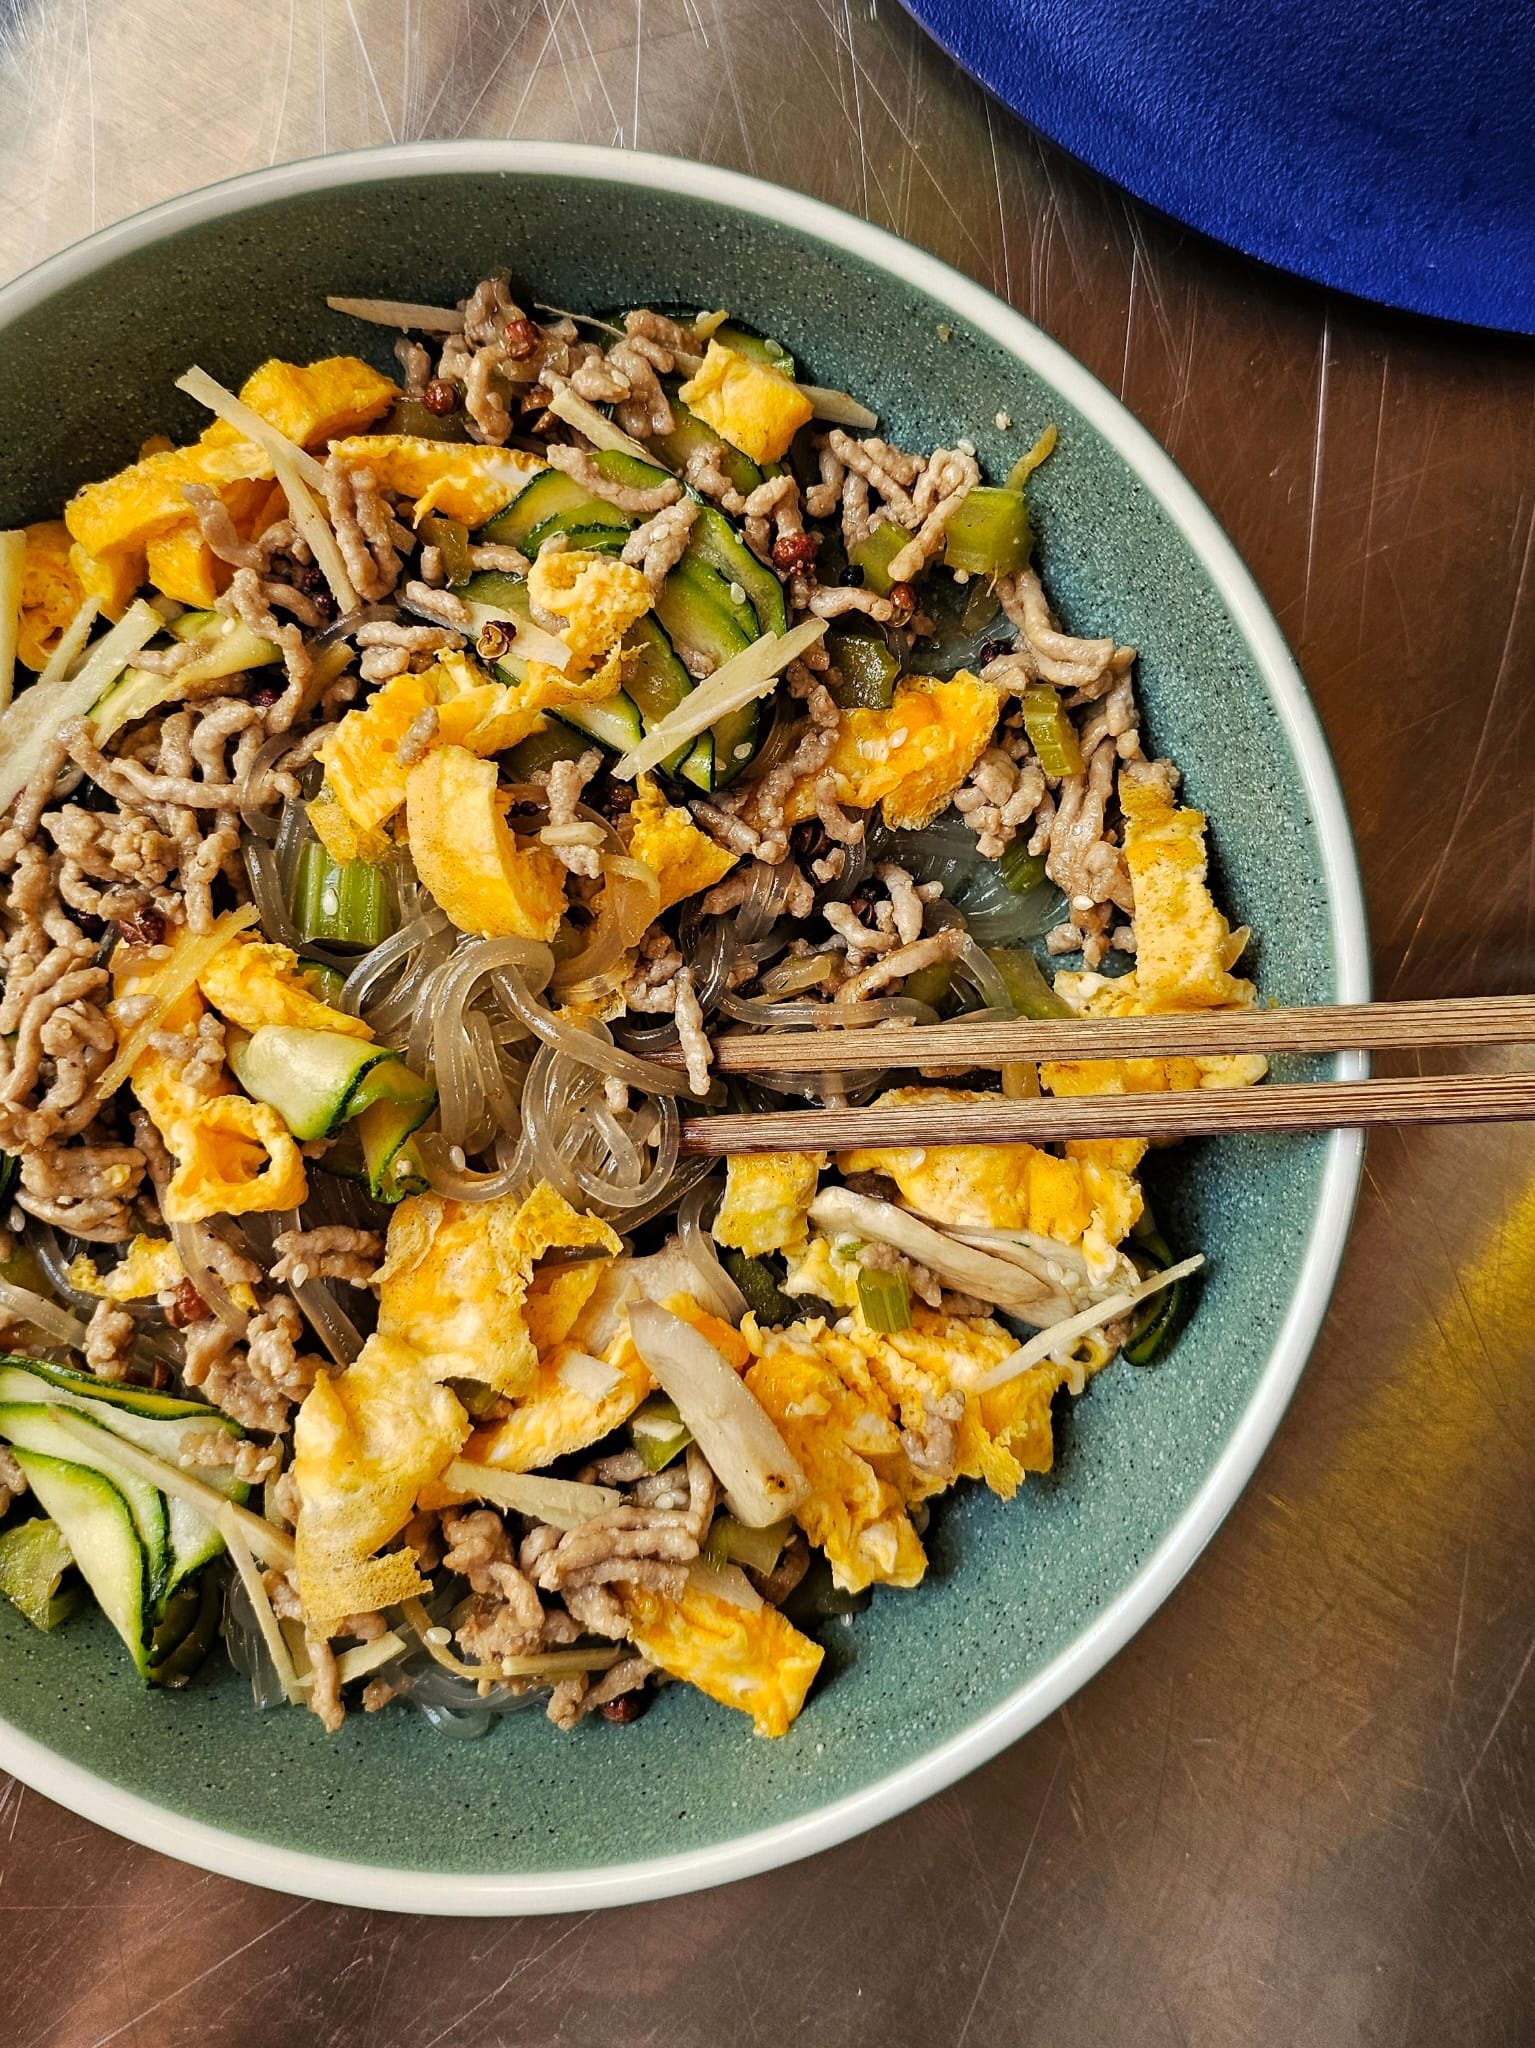
I love this easy pork mince dish, spiked with humming, numbing Sichuan pepper, crunchy celery, and heaps of ginger. It's a cinch to make and can be folded through noodles (I’m loving Korean sweet potato noodles, aka. dangmyeon), or served over steamed jasmine rice. I like to add a little omelette action on the side, which gives the dish a little more body and protein satisfaction.

Serves 2.


Ingredients

2 stalks celery, diced into 1cm cubes

1 thumb-sized piece of ginger, peeled and julienned, plus a little more for garnish

1 clove garlic, minced

1/4 brown onion, finely diced

300g pork mince

3 tbsp Shaoxing cooking wine

2 tbsp soy

1/2 tsp sesame oil

Ground white pepper

Sichuan peppercorns

Sichuan pepper oil (aka prickly ash oil)

Sesame seeds, to garnish

Optional

Finely sliced veg. I used a mandoline so that everything is super fine, as I usually let the residual heat from cooking wilt the veg a little, so that there’s still a little texture going on. I like to use mushrooms (in this case, baby King Browns), and zucchini, but you could throw in squash, asparagus, sliced snow peas, etc.

You can also do like I do, and add in an omelette. In this case, I make a thin omelette, rolled it and sliced it, before folding it into my noodles.

Method
In a pan on medium-high heat, sweat finely diced onion, garlic, and ginger in a tsp neutral oil, for 1-2 minutes until the onion is translucent. Add diced celery and stir fry for another minute or so (you want to keep a little crunch for texture). Remove all contents from the pan and return the pan to heat. Add the pork mince with a little oil, and brown the mince.

Add back the aromats you set aside. Add in soy, shaoxing, and sesame oil to taste. Season with ground white pepper, Sichuan pepper. 

At this point, I like to add finely sliced veg like baby King Brown mushrooms and/or zucchini and let them wilt in the residual heat. Remove pan from heat, add a splash of Sichuan pepper oil, garnish with more fresh ginger, and sesame seeds. 

Fold through noodles like these Korean sweet potato ones - I like them because they have a bouncy chew and are conveniently low carb if you’re looking to balance that part of your meal out. You can also serve this minced wonder over steamed jasmine rice and add an omelette or fried egg to seal the deal.

Guanciale stuffed cabbage with roasted grapes and cashew cream

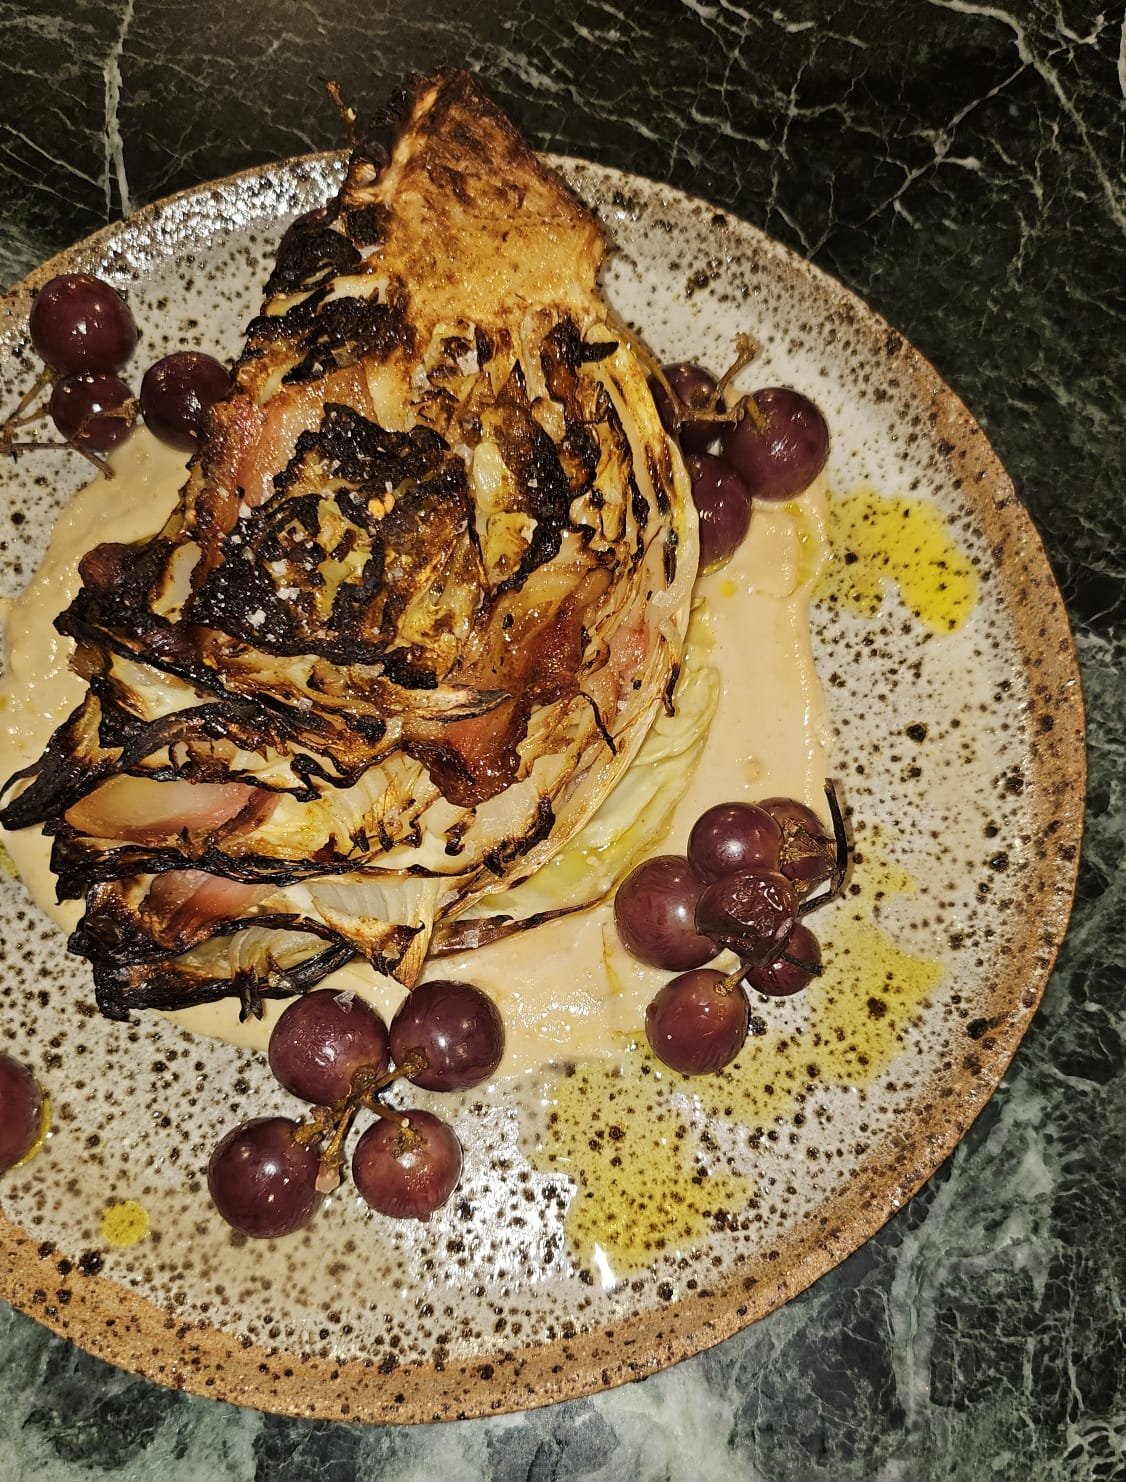
When fridge clean outs go right, you get guanciale stuffed cabbage with roasted grapes and cashew cream.

This recipe is a more a “recipe”. That is, a loose list of suggestions that you can adjust based on what you may have in your fridge or cupboard… don’t feel completely wed to what I’ve used, the whole point is to use what you have. If your cabbage is a different variety. If you’re pescatarian and you’d prefer to use tinned achovies instead of guanciale. If you have almonds or pistachios instead of cashews. Just taste, adjust and you’ll figure it out!

The elements that make this dish work are:

  • Charring the leaves. It adds depth of flavour, texture and a slight smokiness.

  • Guanciale adds salt, fat and body to the end result.

  • Chicken stock helps to steam and soften the leave, speeding up the cooking process. Water will totally suffice.

  • Grapes add acidity, a sweet and sour punch. You could sub that element out with adding pickles to the final dish… I’m thinking pickled red onion.

  • The cashew cream adds a saucy element to bring it all together. A slick of Greek yoghurt, seasoned with salt, perhaps spiked with preserved lemon would also work beautifully.

Ingredients

A wedge of drumhead cabbage

50g guanciale, sliced

1/4 brown onion, sliced

1 small bunch grapes

1 cup chicken stock

Cashew cream

1/2 cup dry roasted cashews

1/4 cup water

2 tbs olive oil

1 tbs white miso

Lemon juice

salt flakes

Method
Preheat an oven to 210c. Heat a cast iron or heavy based pan on high. Once hot, add oil and char the cut edges of the cabbage. Set aside.

When cool enough to handle, gently tuck slices of guanciale and onion between the leaves of the cabbage. You could add soft herbs, garlic, anchovies, the aim of the aim is to add flavour and fat… how you go about that is up to you!

Transfer to a baking tray, pour over the chicken stock and add the bunch of grapes. Roast until the inner leaves become tender, about 45mins, turning the heat down to 190c at 30mins.

Blitz the ingredients for the cashew cream and season to taste. Add more water if the cream is too thick, more cashews if you’ve overdone it.
To serve, slick the cashew cream on a plate, gently place the wedge on top and dress with a generous drizzle of olive oil, salt and lemon juice.


3 Ingredient Veggie Wraps

Sure, lunch wraps are cheap and accessible to buy from the supermarket, but if you’re caught short, or just prefer making them yourself to keep your food a bit simpler, this is one recipe you’re going to want to bank. The best thing, is all you need are 3 ingredients: spinach leaves, porridge oats and chickpea (besan) flour.

They’re soft, pliable and super easy to fill with your favorite lunchtime combo, or use them as a tortilla alternative to a DIY taco night for something different. Doesn’t hurt that you’re jamming a portion of veggies in there without anyone really noticing!

Ingredients (makes around 6)

2 cups instant oats

2 cups water

100g baby spinach

1/2 cup besan (chickpea) flour

Method

Soak oats in water for 10 minutes.

Add this oaty mess (all of it) to a nutribullet and blitz till smooth. Add spinach, pulse to combine, then besan flour, pulse again until smooth.

Add more water to loosen the mixture if required. You're looking for a crepe batter consistency.

Season with salt and pepper.

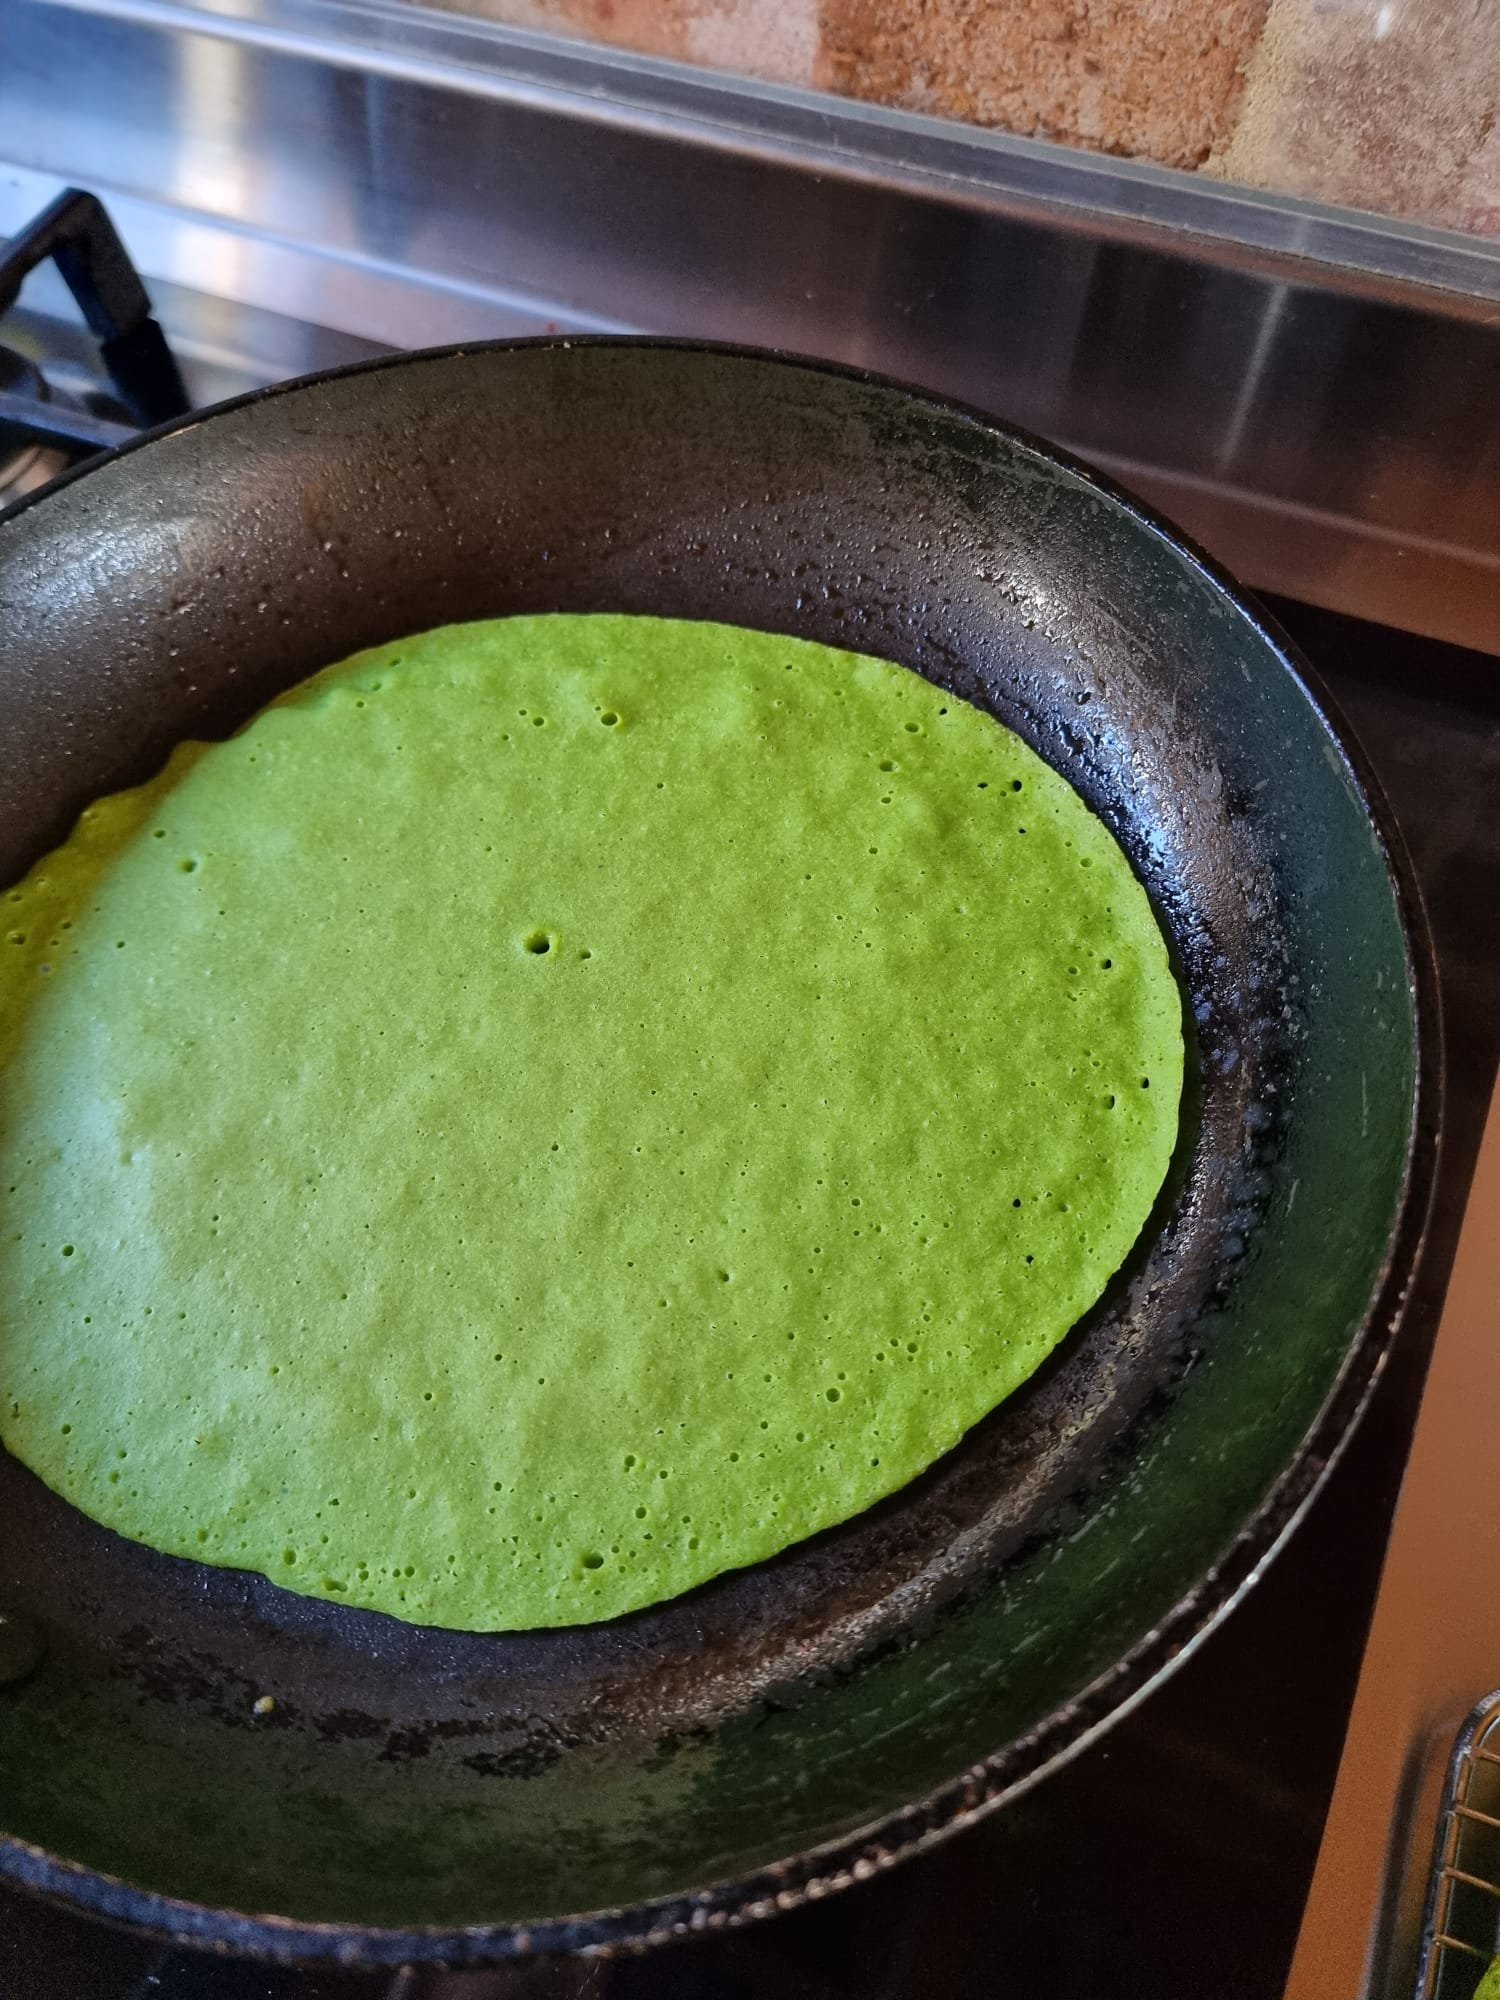
To cook, pour a thin layer of batter in a pre-heated non stick pan on medium heat. Do not flip till the edges start to curl, because these babies are super soft and will break apart if flipped too early. Cook on both sides till tender and cooked through.

Hong Shao Rou - Sticky Red Braised Pork Belly

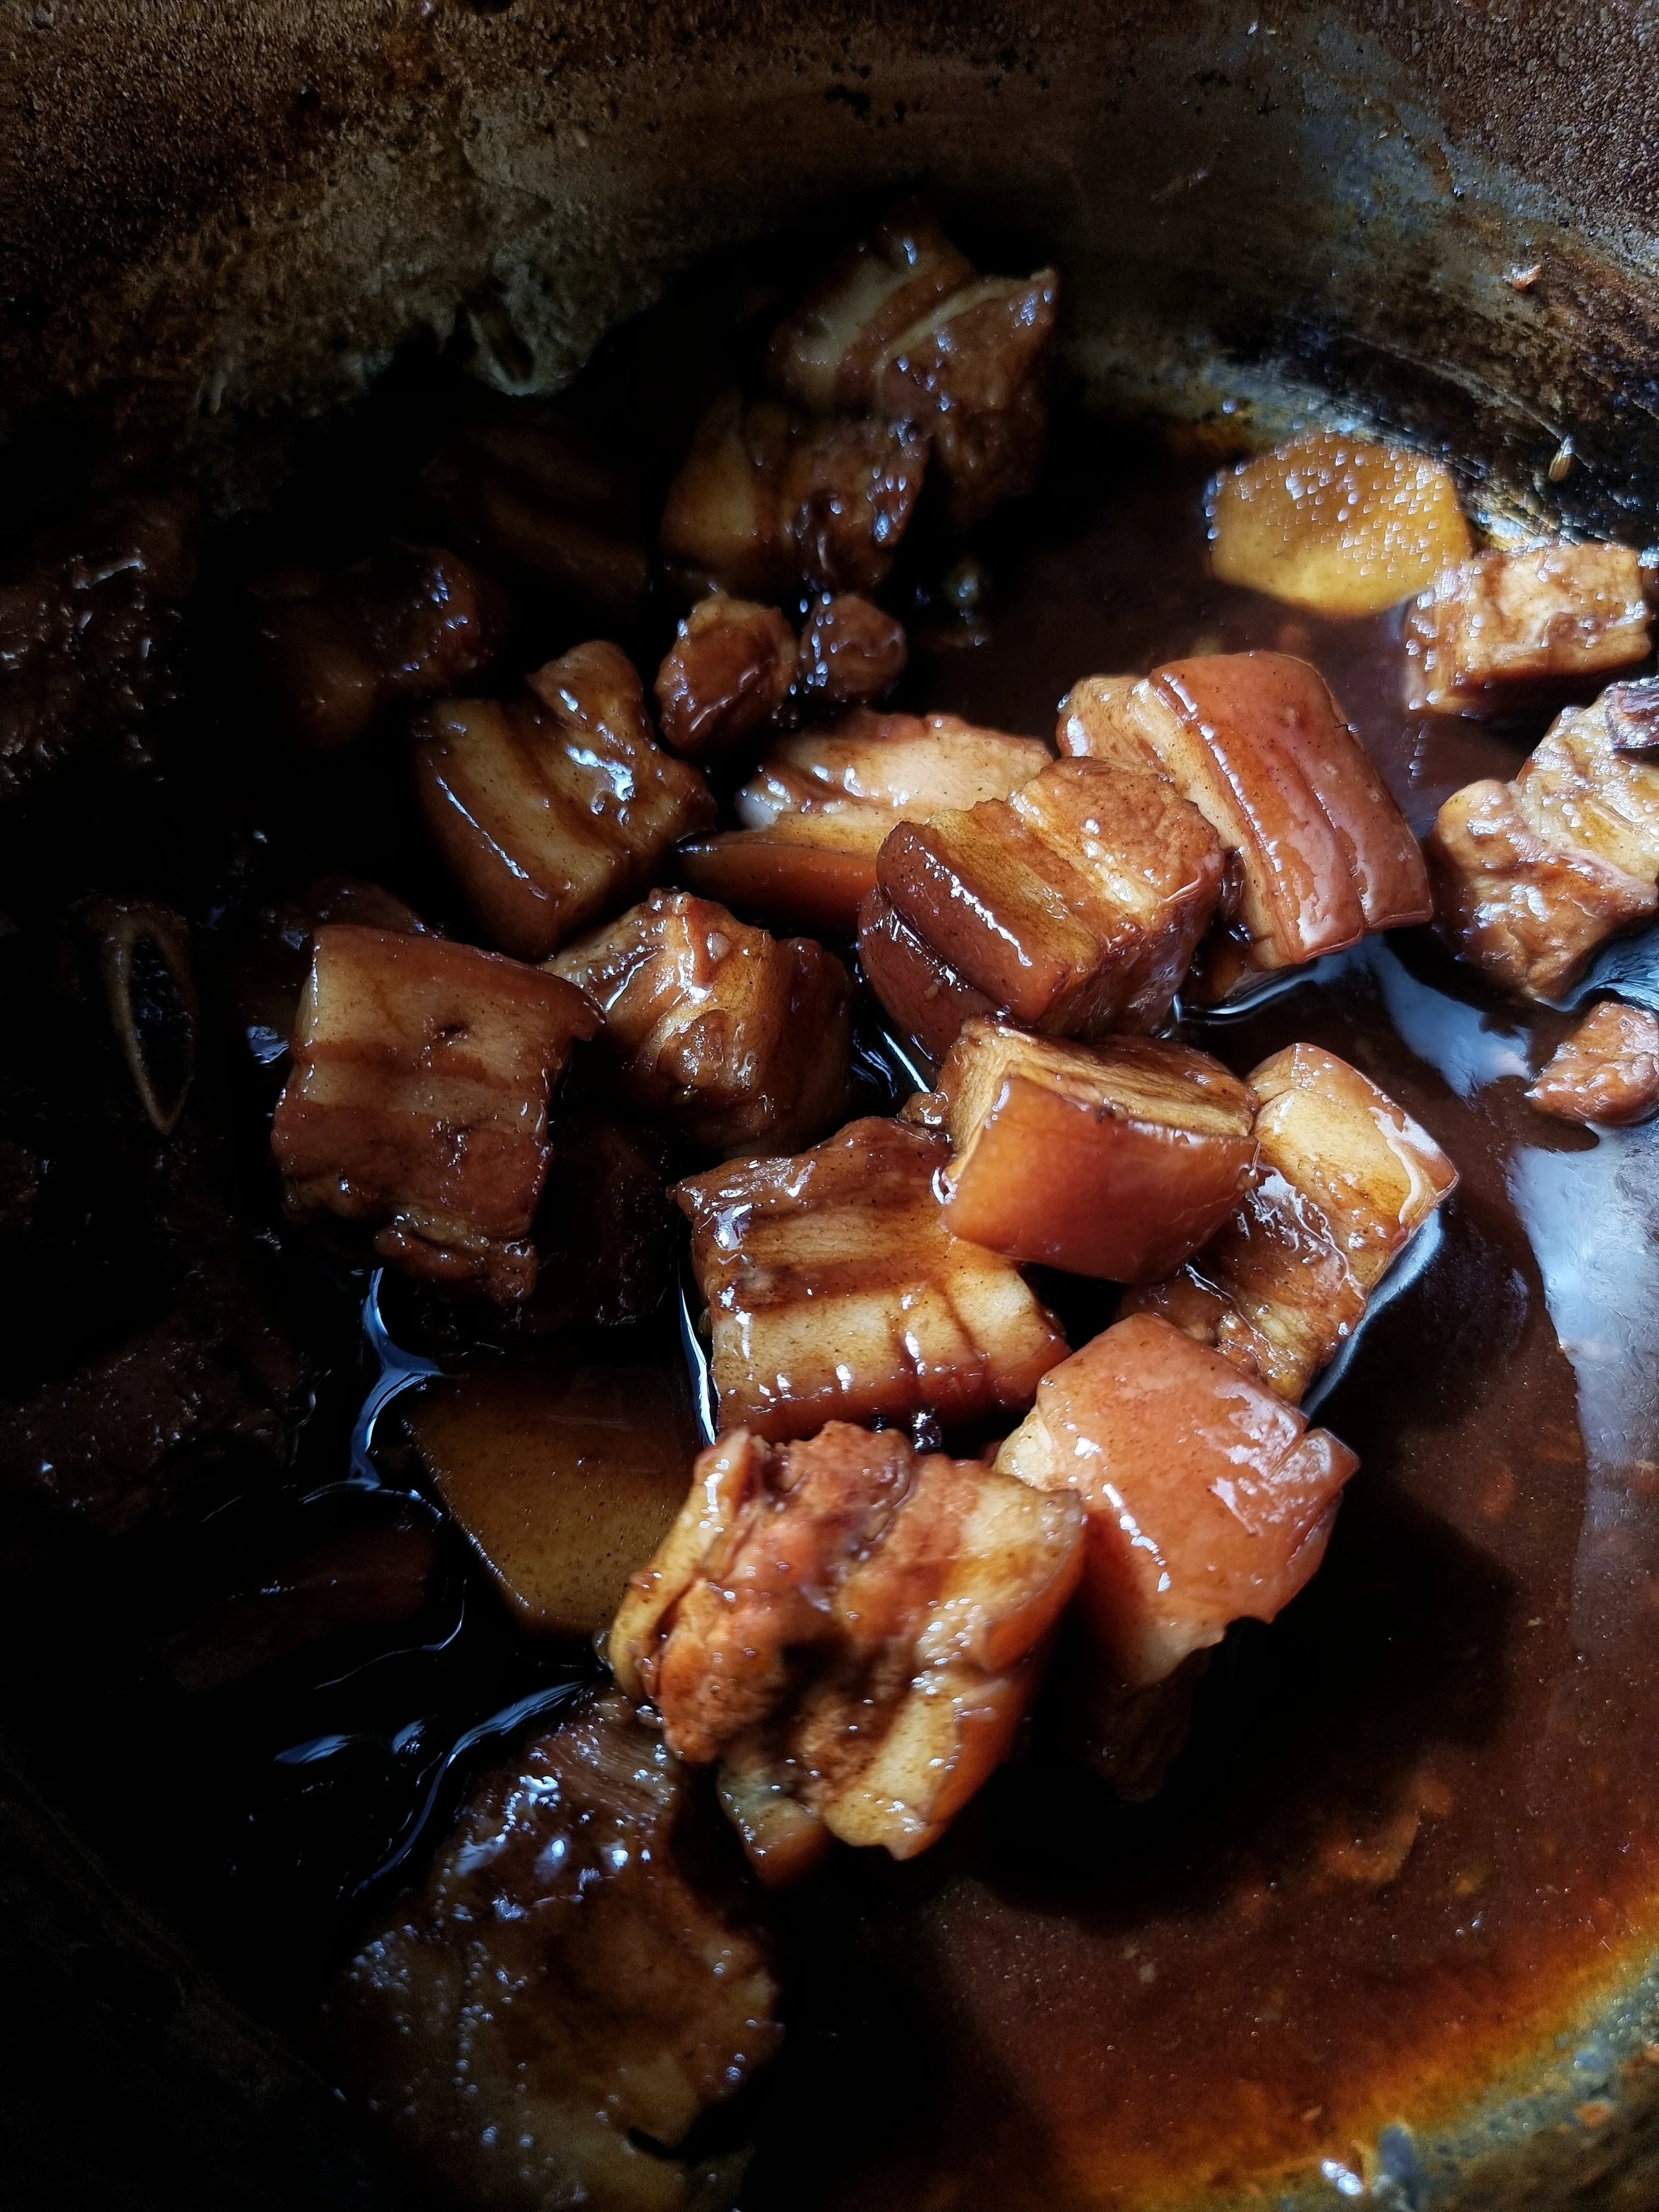
Hong shao rou, or red braised pork belly, is a lip-stickingly rich, salty-sweet good time and is a classic Hunanese dish. 

hong shao rou red braised pork belly recipe

The pork is blanched, then braised in Chinese cooking wine, a combo of soys and aromats (I used ginger, star anise, fennel seed, cinnamon, nutmeg, white pepper and cardamom)...until you don't think you're ready for this jelly (bootylicious).

The braising liquor is then reduced to a glossy, coating sauce with rock sugar, resulting in shiny, fatty nuggs of happiness, best served with steamed rice and pickled mustard greens. 

Ingredients

700g pork belly, chopped into 3cm chunks, skin on

300ml shaoxing cooking wine

3 star anise

White pepper

1 tsp fennel seeds

3-4 green cardamom pods, lightly bashed

1 cinnamon quill

1 thumb sized piece of ginger, roughly sliced

1/4 cup light soy

1/4 cup dark soy

60g rock sugar

Method

Place the diced pork belly into a pot and cover with cold water. Bring the pork up to a boil and once the scum starts to rise to the surface, immediately drain the pork and rinse well. Scrub the pot to remove any traces of scum, also. 

Place the pork back in the pot, with enough water to cover the bottom of the pot, the add in the shaoxing, aromats and soy (basically, everything but the sugar). 

Bring the liquid to the boil and then turn down to the heat and place a lid on the pot, a little ajar, so that the liquor can evaporate slightly. Simmer for 1.5 hours, or until the fat hat become gelatinous and the flesh is soft. 

Remove the lid, add the rock sugar and bring the contents up to a high boil. Stir thoroughly several times to ensure the sugar is dissolved. Reduce until the liquid is thickened and coats the pork and the bottom of the pot. Everything should be glossy and coated. 

Serve with steamed jasmine rice, Chinese pickled mustard greens, or slices of fresh tomato. 

Pine Mushroom Pasta

FullSizeRender 7.jpg

Is it really winter in Melbourne if you don’t eat pine mushrooms as often as possible? A perfect winter bowl for a rainy Melbourne day.

Sauté one clove finely diced garlic, a few sprigs of thyme and a small eschalot, also finely diced, in a generous knob of butter for 1-2 minutes on medium-high heat, or until translucent. Throw in sliced pine mushrooms with a good slug of olive oil and sauté briefly until the mushrooms are soft and juicy. Season to taste.

Throw in pasta, and toss together with a little pasta water and another small knob of butter, until glossy and combined. Garnish with reggiano, lemon zest, black pepper, parsley and chilli oil (optional).

Pork Shoulder Ragu

A comfort classic that fills the house with the toothsome aroma of slow cooked meaty goodness. Simple, satisfying and one of my favourite ways to spend a lazy Sunday afternoon.

Ingredients

Olive oil

Sea salt

Pepper

1 pork shoulder, skin removed and roughly cut into chunks around 5-7cm 

1 brown onion, peeled and finely diced

3-4 cloves garlic, peeled and finely minced

2 stalks celery, peeled and finely diced

1 carrot, peeled and finely diced

3-4 ribbons of lemon peel

3-4 sprigs thyme 

1 tin crushed tomatoes (or you can slow roast a punnet of cherry tomatoes if they’re going south in the fridge to use them up)

2-3 glasses of red wine (you can do this recipe with chicken stock and white wine instead of tomato, and make it a white ragu).

Method

In a large, heavy based pot on a medium to high heat, brown the chunks of pork in olive oil, until golden and sealed on all sides. Be careful not to overcrowd the pan, transferring the sealed pieces to a bowl. 

Once the meat is browned, reduce the pan to a medium heat and add another generous slug of olive oil. Sauté the onion, garlic, celery and carrot until the onion is translucent, then throw in the lemon skin and thyme. 

Return the pork to the pot, then add the tomatoes and wine. Stir to combine, then turn the heat back up to high until it begins to simmer. Season generously with salt and pepper, stir to combine, then reduce to a low heat, place the lid on, propped up with a spoon to allow a small amount of evaporation. Simmer on the stove for 4-6 hours, or if your pot is oven proof, transfer to an oven on 120c for the same amount of time, the top loosely covered with foil. 

The pork is ready when you can use a spoon to crush the chunks of pork. Gently smoosh all the pork and incorporate it into the sauce, season to taste. If there is still a lot of liquid left, simmer it on the stove, uncovered, until it is reduced enough to coat the back of a spoon.

To serve: cook the pasta to al dente, reserving 1 cup of pasta water. In a frying pan, spoon as much ragu as you plan to serve, along with a good splash of the pasta water. Bring to a simmer and when the mixture begins to bubble and thicken, throw in the pasta. Toss vigorously, to work the starches, creating a glossy sauce. Taste once again to season, then transfer the pasta to the hot plate. Garnish with microplanes parmigiano reggiano, lemon zest and black pepper.

Flourless Chocolate and Hazelnut Cake

Flourless Hazelnut Chocolate Cake Fooderati.jpg

Everyone needs a super simple chocolate cake recipe cake up their sleeve for good days, bad days, entertaining, or just cos. This one is dense, fudgy and rich, without being overwhelming. The espresso and Toberlone are fun little additions to highlight the cacao-ness of it all, but you can easily replace them if you like.

Dress is up any way you like, but I will vouch for it standing alone in its glory, simply dusted in cacao powder and served with cream. The Toblerone came about because I ran out of dark chocolate to make up the quantities, but honestly, the milk chocolate and nougat lightens up the intensity of the cacao and dark chocolate. Just a tad. Maybe not at all. But it’s good to be flexible with what you have, no? This one is also gluten free, making it handy for entertaining.

Ingredients

180g dark chocolate, chopped

60g Toblerone, chopped

180g unsalted butter, cubed

40g cacao (not cocoa) powder, sifted

50ml espresso (you can also substitute for the same volume of strong instant coffee. If you don’t want to use coffee, you could try swapping it with olive oil, orange juice or strong green tea).

6 eggs, separated

1 pinch caster sugar

10ml white vinegar

100g brown sugar

30g caster sugar

200g hazelnut meal

Method

Preheat your oven to 180c. Oil and line a 25cm springform tin and et aside. Place a clean, heatproof bowl over a pot of simmering water (be sure the water does not touch the bottom of the bowl) and add the chopped chocolate and butter. Stir to combine as they melt, and gradually mix in the cacao powder until combined. Add the coffee, combine well and set aside.

In a stand mixer or using an electric hand mixer, add the egg whites, a generous pinch of caster sugar and the vinegar. Whisk until soft peaks form, then place into a clean mixing bowl and set aside. Place the 100g brown sugar and 30g caster sugar in the mixer with the yolks and whisk until pale.

Once the chocolate has cooled a bit, gradually fold in the egg yolk mixture in batches, until combined. Do the same with the hazelnut meal. Finally, lightly fold in the egg whites until just combined. You don’t want to work it too hard, otherwise you’ll knock out all the air you’ve worked hard to put in there. Add a good pinch of sea salt and briefly fold it in.

Pour the batter into the lined cake tin and bake for 40 minutes, or until the centre is still fudgy in the centre, but the outside feels just set. Set aside for 15-20 minutes, then release from the tin, inverted and set aside to cool.

Once cool, dust with cacao powder and serve with some whipped cream and a little lemon zest.

Silverbeet with Chickpea, Chilli & Lemon

Silverbeet with chickpea and lemon.jpg

You want quick, simple, cheap and healthy? You’ve come to the right place. This is a regular mid week favourite and a classic from Joe’s family, amended slightly to maximum yum. It’s also vegan and gluten friendly as well.

Ingredients

1 large eschallot (or a small brown onion), peeled and finely sliced⁣⁣⁣
2-3 cloves garlic, peeled and smashed⁣⁣⁣
2-3 bird’s eye chilis, finely sliced⁣⁣⁣
1 bunch silverbeet, stems chopped finely, leaves more roughly⁣⁣⁣
1 tin chickpeas, drained and rinsed⁣⁣⁣
1 lemon, zested and juiced⁣⁣⁣
2 tbsp olive oil⁣⁣⁣
Salt flakes⁣⁣⁣
Black pepper⁣⁣⁣
Pinch freshly grated nutmeg or cinnamon (optional)⁣⁣⁣

Method
In a large pan or pot on a moderate heat, add about a tbsp of the olive oil and sauté the eschallot, garlic and chilli for 1-2 minutes, or until the eschallot is translucent. Add the finely chopped stalks and cook for a further 3-4 minutes, or until slightly softened. Add the chopped silverbeet leaves and give everything a good stir to combine and then wait for the leaves to wilt and cook down. Add the chickpeas, combine well. Once the leaves are cooked down to your liking (you may want to keep it a bit fresh and crunchy, or stew until really tender; cook’s choice), remove the pan from heat and add the lemon juice and most of the zest (reserve some for garnish). Combine well and season with salt and freshly cracked black pepper to taste. You can also grate a little nutmeg or cinnamon (or both!), to amp up the dimension, if you have it. ⁣⁣⁣
⁣⁣⁣
To serve, place the silverbeet onto a bowl, dress with olive oil, salt flakes and remaining lemon zest.⁣ Great as a stand-alone dish, but just as ideal as part of a bigger dining picture. For the train spotters, that is indeed a lime prop, but in all honesty, you could use that instead of lemon and be fine.

Pineapple Hot Sauce!

Pineapple Hot Sauce.jpg

We are obsessed with hot sauce in our house (and if you haven’t seen Hot Ones on Youtube, you don’t know what you’re missing). This is a super simple one to make, just remember to ‘burp’ it daily, to avoid a spicy explosion on your kitchen bench!

This is a super simple hot sauce recipe using pineapple and Habanero chilis. Habaneros are ideal because of their fruity heat, but you can also use birds’ eye chilis if you can’t find them. The basic idea is that the sugar in the pineapple and chilli ferments, helping to develop the flavour of the sauce. Store your newly made sauce at room temperature for a few days to ferment, opening the lid daily to release any built up gas (otherwise the jar will explode!). Taste your sauce daily as the flavours will continue to develop, and once you’ve reached a flavour profile you love, transfer your hotsauce to the fridge, top stop the fermentation process. Keep it refrigerated from that point onwards.

Ingredients

1 pineapple, skin removed*, chopped

A good handful of Habanero chillies, tops removed, coarsely chopped, seeds in

1 cup white vinegar

1 lime, juiced

A good pinch or two of salt flakes

Method

Sterilise a glass jar and set aside (this is a crucial step, so please take the time to do it properly).

In a blender or Nutribullet, blitz the pineapple and chilli. In a clean mixing bowl, combine the blitzed pineapple and chilli with the remaining ingredients. You can also do it in batches if you can’t fit it all in, then mix everything well to combine.

If you want a refined sauce, pass the sauce through a sieve, lined with muslin cloth (I prefer to keep it chunky).

Pour into the jar and seal.

Open the jar once a day to release the gas created through the fermentation process.

Taste the sauce daily. Once the sauce tastes the way you like it, transfer the jar to the fridge to stop the sauce fermenting further. 

*As always, please dispose of your food waste responsibly. Composting is a cheap and easy way to do it at home so that you can contribute less to landfill and nourish your plants while you do the right thing

The Only Veggie Soup Recipe You Will Ever Need

Zucchini Miso Soup.jpg

My zucchini patch is still going gangbusters. We’ve done Zuni pickles, roasted, raw in salads, the works.⁣
⁣⁣
Zucchs aside, this is a damn good (and very simple) recipe you can adapt to other veg you might have lying around. Things like carrots, potatoes, fennel, celeriac and pumpkin are PERFECT for it, so feel free to sub out the zucchini for any combo of these, and take veggie soup from alright, to ALRIGHT!!
⁣⁣
Ingredients⁣⁣
⁣⁣
3 tablespoons vegetable oil ⁣⁣
⁣⁣
3 cloves of garlic, peeled and finely chopped⁣⁣
⁣⁣
2 brown onions, peeled and coarsely chopped⁣⁣
⁣⁣
1 teaspoon sea salt ⁣⁣
⁣⁣
1 teaspoon ground white pepper ⁣⁣
⁣⁣
2 tablespoons white miso paste⁣⁣
⁣⁣
4 large zucchini, cut into chunks⁣⁣
⁣⁣
Enough rich chicken or vegetable stock to cover solids (about 1.5L)⁣⁣
⁣⁣
50g butter (substitute with olive oil to make this vegan)⁣⁣
⁣⁣
2 tablespoons good quality EVO (I love @altoolives)⁣⁣
⁣⁣
Method⁣⁣
⁣⁣
In a large saucepan, heat the 3 tablespoons of oil over low heat. Add the garlic, onion, salt, pepper, and, stir to combine and bring the heat up to medium. Sauté until the onions are translucent, but haven't taken on colour. Add the zucchini and cook for a further 5 minutes. ⁣⁣
⁣⁣
Add in the miso paste and then pour in enough stock to cover the vegetables. Bring to a simmer, then cover and cook until the vegetables collapse under the pressure of a spoon. ⁣⁣
⁣⁣
Carefully remove the pot from the stove, add the butter and then and using a stick blender, blitz until smooth. ⁣⁣
⁣⁣
Taste to season and serve (this one’s with a drizzle of green herb oil, yoghurt, dried zucchini flowers and dehydrated olive).

The Easiest Cake Recipe In The World: As Seen on Everyday Gourmet

As seen on Everyday Gourmet Season 8, with Justine Schofield on Channel 10.Click here to watch the episode!

As seen on Everyday Gourmet Season 8, with Justine Schofield on Channel 10.

Click here to watch the episode!

Everybody needs a simple, please everybody pudding you can quickly throw together when entertaining, or just because. This baked pudding is part cake, part cobbler, with golden, almost crunchy bits on the outside and fabulously crumbly and cakey on the inside. And the best bit is you can use any fresh or tinned fruit you like. You could even swirl a few spoons of your favourite jam in, instead! 

The basic principle is EQUAL WEIGHTS of butter, sugar, eggs and flour. Only one egg in the house? Just weigh it and mix it with the same of the other three! Then add your favourite fruit (tinned, fresh, frozen, it doesn’t really matter! You can even add a swirl of your favourite jam, some extra cinnamon, nutmeg, ginger or vanilla…. whatever you like, really!

Batter

125g butter, softened 

125g caster sugar

2 large free range eggs

125g self raising flour 

Pinch of salt 

1 tsp vanilla paste (optional)

Flavouring

Let’s do one with something seasonal: 1-2 pears, peeled, cored and quartered. 

Method 

Preheat oven to 180c. Meanwhile, combine the butter, sugar and eggs in a stand mixer and whisk until thick and glossy. Sift in flour gradually and combine thoroughly. Add in the vanilla and salt at the end and quickly combine. 

Place the pear pieces in a buttered and floured cake tin, then carefully pour the batter over the top and shake the pan a little bit so that everything settles evenly. 

Bake for 30-40 minutes, or until a skewer when inserted into the centre, comes out clean. Let rest for a few minutes before serving. Serve warm, with whipped cream, custard or ice cream. 


Pork and Prawn Wontons with Black Vinegar and Chilli Oil

I’ve been making this recipe since I was probably about 3. Like many kids who grow up in families who love to cook, you start with the most basic of cooking skills and build from there. From mixing the filling to forming the dumplings and cooking them, it’s the first recipe I remember my mother teaching me… and probably the last one I will forget . Over time, this recipe has evolved and that’s the beauty of it; once you understand the base recipe, you can customise it to your taste. Add chilli, XO, Chinese five spice, add mushrooms to the mix, like most great Chinese recipes, they’re open to a little free will and imagination.

Boil them, steam them or fry them, they’re a sure fire crowd pleaser. Click here to watch me make them while guest playing guest host on Studio 10, Australia’s favourite breakfast television show!

Ingredients

3 stalks shallots (scallions), green part finely chopped

1/2 bunch coriander, very thoroughly washed, stalks and roots very finely chopped, reserve leaves for garnish

1 thumb sized piece ginger, finely grated

1/2 small tin water chestnuts, coarsely chopped

150g green prawn meat, coarsely chopped

500g pork mince (nothing too lean as you need the fat content to make these babies succulent)

2 tbsp Kecap Manis

1 tbsp light soy sauce

1 tsp ground white pepper

Salt to taste

1 packet wonton wrappers

Dressing

1 tbsp Kecap Manis

2 tbsp Chinkiang Chinese black vinegar

1 tsp Lau Gan Ma chilli flakes in oil (from any Asian grocer)

Method

In a clean mixing bowl, combine the chopped shallots, coriander, grated ginger, chopped chestnuts, prawns and pork mince. Add the seasoning ingredients and mix well to combine.

Heat a small frypan with some vegetable oil to a medium high heat and fry off a teaspoon of mixture to check the seasoning. Once you have adjusted the dumpling mixture to your liking, you’re ready to make a batch!

Assemble the wontons by filling each wonton with about one teaspoon of mixture and sealing two adjacent sides with water to form a triangle. Make sure the edges are completely sealed to avoid unfortunate explosions if you fry, and to keep all the flavour and juiciness where it should be. If you want to get fancy, wet the two longest corners of the triangle and squeeze them together to make a tortellini shape (as pictured). Continue until all the mixture has been used up (though I love using this dumpling filling recipe as meatballs, or in a stir fry, too).

Heat a pan of water and place an oiled bamboo steamer on top. Steam the dumplings for 10 minutes or until the mixture is cooked through and the pastry is tender). While the dumplings are steaming, mix the dressing ingredients to taste. Dress the wontons in a bowl and then transfer to a serving bowl. Garnish with more sauce and the reserved coriander leaves.