Desserts

The Easiest Cake Recipe In The World: Lemon Drizzle Edition

A couple of years back, I shared what will remain The Easiest Cake Recipe In The World. Why? Because it’s so stinking easy, you barely need a recipe.

If you click the link above, you’ll get all the info you need, but essentially, all you require is equal weight of egg, butter, sugar and self raising flour. Whip it together you have the basis of a cake you can take in so many directions. Depending on the type of sugar (e.g. if you used brown sugar), you can switch up the density a little, but what you essentially have, is a moist butter cake with a decent crumb.

I love this recipe because it essentially consists of ingredients you will always have in your kitchen, and from there, you can do what you like to trick it up. From adding frozen fruit, chocolate chips and more, it’s an excellent one to have up your sleeve should you have an unexpected guest. Or, if you’re me, you just feel like making something sweet for yourself. One egg is roughly 56g without the shell, so weigh out the other ingredients, cream the butter and sugar, add in the egg, sift in the flour, add whatever else you like, and throw it in the oven. And voila! Cute cake for one.

Lately I’ve been loving turning this excellent base recipe into a lemon drizzle cake. All you need to do is add lemon zest to the batter (use your senses to know how much, but I’d use about half a lemon’s worth of zest for a cake for one). I also like to add a little vanilla paste.

Once the cake is baked (about 25 minutes on 180c), this is the hardest part: release it from its pan, invert it and allow it to cool completely before you ice it. See? Hard!

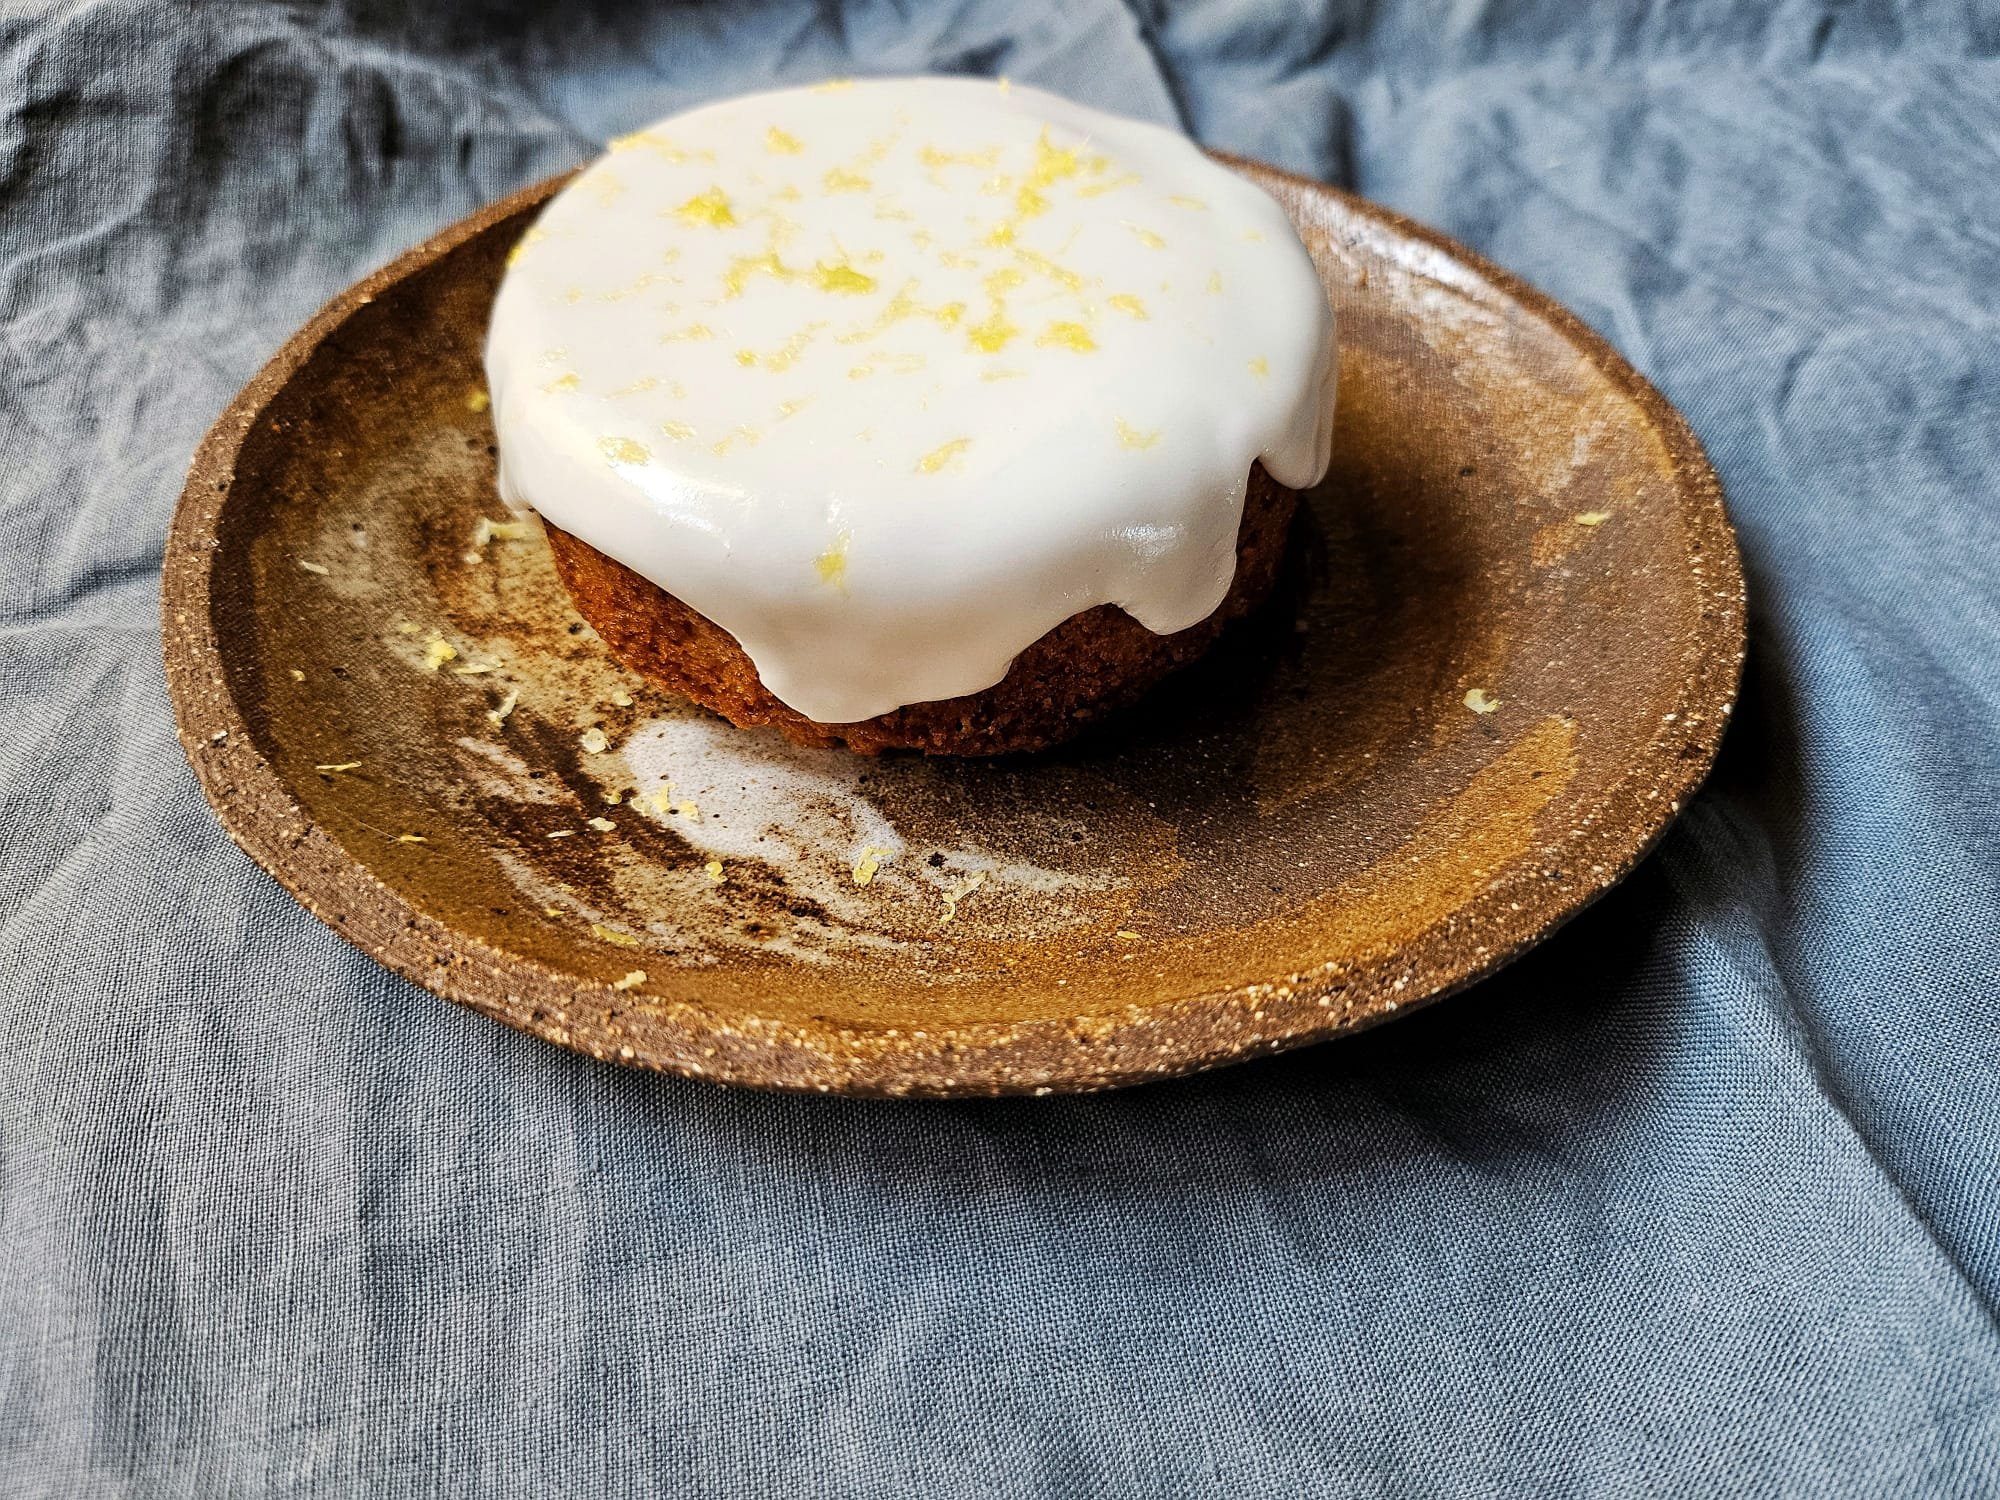
Once fully cool (this is essential), I make a soft icing consisting of lemon juice and icing sugar. Eyeball it until you have a thick, glossy, viscous texture. Pour this glossy wonder onto the cake, and carefully spread it without shifting crumbs, so you have an even, glossy topper. Finish with more lemon zest. Perfect with a cup of tea!

Flourless Chocolate and Hazelnut Cake

Flourless Hazelnut Chocolate Cake Fooderati.jpg

Everyone needs a super simple chocolate cake recipe cake up their sleeve for good days, bad days, entertaining, or just cos. This one is dense, fudgy and rich, without being overwhelming. The espresso and Toberlone are fun little additions to highlight the cacao-ness of it all, but you can easily replace them if you like.

Dress is up any way you like, but I will vouch for it standing alone in its glory, simply dusted in cacao powder and served with cream. The Toblerone came about because I ran out of dark chocolate to make up the quantities, but honestly, the milk chocolate and nougat lightens up the intensity of the cacao and dark chocolate. Just a tad. Maybe not at all. But it’s good to be flexible with what you have, no? This one is also gluten free, making it handy for entertaining.

Ingredients

180g dark chocolate, chopped

60g Toblerone, chopped

180g unsalted butter, cubed

40g cacao (not cocoa) powder, sifted

50ml espresso (you can also substitute for the same volume of strong instant coffee. If you don’t want to use coffee, you could try swapping it with olive oil, orange juice or strong green tea).

6 eggs, separated

1 pinch caster sugar

10ml white vinegar

100g brown sugar

30g caster sugar

200g hazelnut meal

Method

Preheat your oven to 180c. Oil and line a 25cm springform tin and et aside. Place a clean, heatproof bowl over a pot of simmering water (be sure the water does not touch the bottom of the bowl) and add the chopped chocolate and butter. Stir to combine as they melt, and gradually mix in the cacao powder until combined. Add the coffee, combine well and set aside.

In a stand mixer or using an electric hand mixer, add the egg whites, a generous pinch of caster sugar and the vinegar. Whisk until soft peaks form, then place into a clean mixing bowl and set aside. Place the 100g brown sugar and 30g caster sugar in the mixer with the yolks and whisk until pale.

Once the chocolate has cooled a bit, gradually fold in the egg yolk mixture in batches, until combined. Do the same with the hazelnut meal. Finally, lightly fold in the egg whites until just combined. You don’t want to work it too hard, otherwise you’ll knock out all the air you’ve worked hard to put in there. Add a good pinch of sea salt and briefly fold it in.

Pour the batter into the lined cake tin and bake for 40 minutes, or until the centre is still fudgy in the centre, but the outside feels just set. Set aside for 15-20 minutes, then release from the tin, inverted and set aside to cool.

Once cool, dust with cacao powder and serve with some whipped cream and a little lemon zest.

The Easiest Cake Recipe In The World: As Seen on Everyday Gourmet

As seen on Everyday Gourmet Season 8, with Justine Schofield on Channel 10.Click here to watch the episode!

As seen on Everyday Gourmet Season 8, with Justine Schofield on Channel 10.

Click here to watch the episode!

Everybody needs a simple, please everybody pudding you can quickly throw together when entertaining, or just because. This baked pudding is part cake, part cobbler, with golden, almost crunchy bits on the outside and fabulously crumbly and cakey on the inside. And the best bit is you can use any fresh or tinned fruit you like. You could even swirl a few spoons of your favourite jam in, instead! 

The basic principle is EQUAL WEIGHTS of butter, sugar, eggs and flour. Only one egg in the house? Just weigh it and mix it with the same of the other three! Then add your favourite fruit (tinned, fresh, frozen, it doesn’t really matter! You can even add a swirl of your favourite jam, some extra cinnamon, nutmeg, ginger or vanilla…. whatever you like, really!

Batter

125g butter, softened 

125g caster sugar

2 large free range eggs

125g self raising flour 

Pinch of salt 

1 tsp vanilla paste (optional)

Flavouring

Let’s do one with something seasonal: 1-2 pears, peeled, cored and quartered. 

Method 

Preheat oven to 180c. Meanwhile, combine the butter, sugar and eggs in a stand mixer and whisk until thick and glossy. Sift in flour gradually and combine thoroughly. Add in the vanilla and salt at the end and quickly combine. 

Place the pear pieces in a buttered and floured cake tin, then carefully pour the batter over the top and shake the pan a little bit so that everything settles evenly. 

Bake for 30-40 minutes, or until a skewer when inserted into the centre, comes out clean. Let rest for a few minutes before serving. Serve warm, with whipped cream, custard or ice cream. 


Rapid Fire Apple Crumble...For One!

Super Fast Apple Crumble For One

A lot of recipes are made for more than one...which is fine, but there are times where a perfectly formed meal for one is just the ticket. This super fast dessert came about because solo movie nights sometimes need to be a little extra. This deliciously cute apple crumble is gluten free, refined sugar free and super fast and easy to make, so instead of popcorn, try this!

Ingredients

Filling 

1 apple (I used a pink lady)

1/2 tsp vanilla bean paste

1 tsp Australian honey

1 pinch sea salt

1 pinch cinnamon

Crumble

3 tbs almond meal

1 small knob cold butter

1 pinch sea salt

1 pinch cinnamon

Method

Preheat oven to 200c. Core and chop the apple into 1 inch cubes and transfer to a bowl. Add the remaining ingredients for the filling and toss to combine. Transfer to a small ramekin so that the ingredients fit snugly, adding 2 tablespoons of water. In a separate bowl, combine the almond meal and butter and using a rubbing technique, use your fingers to rub the butter into the almond meal to form a crumb. Add the salt and cinnamon and then top the apple mixture with the crumble. Reduce the oven to 180c and bake for 15-20 minutes or until the top is golden and the apple is tender. Serve with coconut yoghurt and a drizzle of maple syrup if desired. 

Warm Peach Pudding

Baked Peach Pudding Fooderati

Everybody needs a simple, please everybody pudding you can quickly throw together when entertaining, or just because. This baked pudding is part cake, part cobbler, with golden, almost crunchy bits on the outside and fabulously crumbly and cakey on the inside. And the best bit is you can use any fresh or tinned fruit you like. You could even swirl a few spoons of your favourite jam in, instead! 

Batter

125g butter, softened 

125g caster sugar

2 large free range eggs

125g self raising flour 

Pinch of salt 

Syrup

2 tablespoons brown sugar 

120ml water

1 vanilla pod

Fruit of choice, I used 3 large fresh peaches, but you could you can use almost any fruit you like. Stone fruit, citrus, pears or poached quinces work well. 

Method 

Preheat oven to 180c. Meanwhile, combine the butter, sugar and eggs in a stand mixer and whisk until thick and glossy. Sift in flour gradually and combine thoroughly. 

Thoroughly combine the syrup ingredients in a saucepan, add the fruit and poach over a medium heat for 5 minutes, tossing the fruit around so that it is evenly covered in the syrup. Transfer most of the poached fruit and a spoonful of the syrup to a lightly greased and floured baking dish. Spoon the batter over the top of the fruit and shake the pan a little bit so that everything settles evenly. Add the rest of the fruit on top, nestling it in a little. 

Bake for 30 minutes. Let rest for a few minutes before serving. Serve warm with whipped cream, custard or ice cream. 


Sweet Potato Chocolate Cake

As seen on Everyday Gourmet Season 8 with Justine Schofield. Watch the segment HERE!

As seen on Everyday Gourmet Season 8 with Justine Schofield. Watch the segment HERE!

Say what? Yes, the secret ingredient in this chocolately, fudgy little number is SWEET POTATO! So what does it do? Well, instead of using regular flour and heaps of refined sugar, sweet potatoes add natural sweetness, a rich texture and a heap of vitamins, minerals and beneficial fibre to this cake...so you can have your goodness and eat it too! 

A tweaked version of my friend and nutritionist Tara Leong's recipe, it's super simple, as well as gluten (if you use gluten free baking powder) and dairy free. As she would note, however...just because it's healthy doesn't mean you should eat the whole thing! Nutrient dense foods also come with a decent serve of calories, so enjoy it with a little moderation! 

Ingredients

1 large sweet potato, roasted in its skin and slightly cooled (around 1kg)

85g dark chocolate

3 free range eggs

1 1/2 cups coconut sugar (brown sugar also works)

1 tsp vanilla extract

1 cup olive oil

1/2 cup raw cacao powder (not cocoa powder...you want that bitter chocolately kick!)

1 1/2 tsp gluten free baking powder (regular is also fine if this isn't a crucial dietary)

3 tsp cinnamon

A good pinch of sea salt

200g almond meal

Raw chocolate glaze

1 cup raw cacao powder

1 cup water

6 tbsp runny honey or maple syrup (raw cacao can be bitter, so you can add more to taste)

1/2 tsp vanilla extract

1/2 tsp cinnamon

1/4 cup olive oil

Method

Preheat your oven to 180c, then grease and line a 23cm springform or a deep loaf tin with baking paper. Slice the cooked sweet potato in half and scoop out the flesh, transferring it into a bowl. Mash the sweet potato roughly and set aside. Bring a small saucepan half filled with water to the boil. Once boiling, place the chocolate in a heat proof bowl and carefully place on top of the saucepan. Once melted, remove from heat and set aside. In a separate bowl, whisk together the eggs, sugar, vanilla and oil, then slowly add the sweet potato, melted chocolate and mix until just combined. Sift in the cocoa, baking powder, then add the cinnamon and salt. Lastly, fold in the almond meal in thirds until everything is incorporated. Transfer the contents of the cake to the lined baking tin and bake for 65 minutes or until a toothpick when inserted in the centre, comes out clean (as it is a very fudgy cake and not all sweet potatoes are the same size, it can sometimes take a little longer, just keep cooking until the toothpick comes out clean!). Once baked, remove from oven and set aside to completely cool before icing. 

For the ganache, combine the cacao powder, water, maple syrup (you ca also use honey or rice malt syrup), vanilla and cinnamon over a medium high heat, whisking until the mixture thickens. If the mixture is already very thick, add a little water to loosen it, a tablespoon at a time. Once thick enough to coat the back of a spoon, remove the ganache from heat and vigorously whisk in the olive oil until smooth and glossy. For a mirror glaze finish, add in an extra tablespoon or two of iced water at the end and whisk vigorously again until combined. Once the cake is cool, remove it from the tin, then glaze and decorate. 


4 Ingredient No Bake Coconut Crack Bars

As seen on Everyday Gourmet with Justine Schofield and Melissa Leong

As seen on Everyday Gourmet with Justine Schofield and Melissa Leong

A new year rolls around, as does the guilt for potentially overdoing it between Christmas and New Years, even though it's probably worth the argument that it's really what you eat between New Years and Christmas that's more important. 

But anyway, I digress. Once the sugar high from all your favourite end of year desserts comes to an end (personally, I'm a pavlova and trifle girl), here's a slightly more virtuous afternoon tea accompaniment that's vegan as well as gluten, refined sugar and dairy free...but be warned, they are called Crack Bars for a reason. There is zero baking involved and the base recipe is just 4 ingredients (I don't count salt), which you can add your favourite toppings or ingredients like pepitas and raw chocolate (pictured), cacao nibs, dried fruit, etc. Enjoy! 

Ingredients

1 cup dessicated coconut

1/4 cup maple syrup (honey will work, but isn't vegan if that matters)

2 tbsp coconut oil, melted

1/2 tsp vanilla extract

1 pinch sea salt

Optional: a handful of pepitas, raw chocolate to drizzle. 

Method

Place the dessicated coconut into a mixing bowl. In a separate bowl, combine the melted coconut oil, maple syrup and vanilla extract. Add the wet ingredients to the dessicated coconut, along with a good pinch of sea salt and combine well. At this stage, you can add any additional  ingredients you like, for example, a handful of chopped nuts, cacao nibs, pepitas, or dried fruit.

Line a shallow baking tray with baking paper and press the mixture into a level rectangle shape, alternatively you can use silicon ice cube moulds. Freeze the pressed mixture for 10-20 minutes until set, then slice into portions, or pop out of the mould, if using. If you want to drizzle a little melted chocolate (raw or otherwise, I don't discriminate), this is when you'd do that (and let's be honest, when is a little extra chocolate a bad idea?).

Store refrigerated. 


Vegan Chocolate Mousse

Vegan Chocolate Mousse.jpg

Instagram is a wonderful thing for inspiration. It's also terrible for creating unrealistic expectations about everything from diet to body image, but that's a conversation for another time. A dear friend and chef Sharon Salloum from Sydney's Almond Bar (if you haven't been, you really should) recently posted a vegan chocolate mousse she had made. Being a chef and then running into health issues is never ideal, but it happens more than you think. Having to change what we eat out of necessity does create an opportunity to explore new things however, and while I could never EVER be vegan, that isn't to say that recipes that don't involve animal products can't be delicious. Case in point, this extremely rich and velvety chocolate mousse. Chances are you already have most of these ingredients at home anyway, so why no, eh?

Serves 2

Ingredients

1 ripe avocado

1/2 frozen banana

2 tbs cacao powder

1 tbs vanilla protein powder (I used Tropeaka Lean Protein, but this isn't a sponsored post)

1 tsp maple syrup or rice malt syrup (you could use raw honey for a vegetarian option if you don't want to go fully fledged vegan)

1 pinch sea salt

1 tbs coconut yoghurt or almond milk (optional, if the ingredients get a bit too thick to blend)

Cacao nibs and other fun things, for garnish

Method

Throw all your mousse ingredients into a high speed blender. Blitz until smooth (here's a recipe where 'rustic' chunks of avo probably aren't so appealing). The frozen banana means the mousse is pretty much ready to eat out of the blender, but I recommend decanting it into a bowl and chilling it in the refrigerator for about 20 minutes or until ready to eat. Garnish with your favourite toppings and a little extra pinch of sea salt. 


Marmalade and Ricotta Teacake

Marmalade Ricotta Cake.jpg

When I lived in rural Tasmania for two years, I had the great fortune of living for part of that time on an organic sheep dairy. Owned by my dear mate Nicole Gilliver, her mother Diane Rae and their amazing family, Grandvewe Cheeses is situated in Birchs Bay, located an hour south of Hobart overlooking Bruny Island. 

One of the perks of being mates with a cheesemaker...is obviously access to cheesy delights...including recently, a huge wedge of sheep milk ricotta. With zero preservatives, the shelf life of produce like this is extremely short, and without wanting to waste it, I decided to bake what I didn't use into a ricotta cake. Add to this a couple of tablespoons of my mother in law's excellent home grown cumquat and blood orange marmalade, this cake was made with a whole lotta love. 

It's a not-too-sweet, citrusy slice is great as an afternoon tea accompaniment and is even better served with a dollop of yoghurt or creme fraiche. 

Ingredients

250g fresh ricotta

2/3 cups caster sugar

2 large organic eggs

100g butter, melted

Zest and juice of 2 lemons

1/4 cup orange juice

1/4 cup almond meal

1 1/2 cups self raising flour, sifted

1 pinch salt

1 tsp ground cinnamon

2 tbs marmalade

Icing sugar, for dusting

Greek yoghurt or creme fraiche, to serve

Method

Preheat an oven to 180c. In a food processor, add the ricotta, sugar and eggs and blitz until smooth. Pour in the butter, lemon zest, lemon juice and orange juice and pulse again, to combine. In a clean mixing bowl, add the almond meal, flour, salt and cinnamon and stir to combine. Gently fold the dry ingredients into the wet ingredients, about a third at a time, until combined.

Line a 20cm spring form tin with baking paper and pour the batter into the tin. Shake to level and then carefully swirl in the marmalade, then even out the top. Bake for 35-40 minutes or until a skewer inserted into the centre comes out clean. Allow to cool for 10 minutes before releasing the cake from the springform, and rest on a rack until cool. Dust with icing sugar and serve with yoghurt or creme fraiche. 


Lemon Delicious Tart

Lemon Delicious Tart

It's always useful to have a couple of handy dessert recipes in your arsenal for when you really need to impress...even if the person you're impressing is yourself! A great lemon tart is the perfect combination of zesty, lemony sunshine and buttery richness - a refreshing way to end a meal that's still a little bit indulgent too. This recipe was shared with me by my extremely talented husband; who was a chef at Melbourne pastry gem Chez Dre, somewhere between being a touring guitarist in a metal band and a bar owner. It's been his trusted never-fail-to-impress dessert for many years, and I hazard a guess that if you give it a try, you'll see why.

A few tips - the gelatine leaf literally sets this recipe up for success, don't leave it out. Gelatine leaves can be found in all good food stores and are graded in strength, with titanium giving the firmest hold. Make sure when you zest and juice your lemons that you keep these two separate. Zest is best kept as fresh as possible, so adding it in at the last minute will give you that extra 'pop'. Serve this chilled with a little spoon of creme fraiche or double cream to complement the zing. 

Ingredients

Pastry

2 cups plain flour

150g butter, chilled and cubed

2-3 tablespoons iced water

Curd 

5-6 lemons (you'll need 250ml juice and the zest, but we'll get to that)

250g caster sugar

200g eggs (about 4 medium sized eggs)

200g butter, cubed and chilled

1 sheet titanium strength gelatine

Method

Preheat an oven to 180c. In a food processor, mix together the flour and butter until you achieve a fine crumb texture. With the motor running on low, gradually add the iced water until a smooth dough forms. Turn the dough out onto a lightly floured surface, knead briefly and then wrap in plastic and refrigerate for at least 30 minutes.

Once chilled, roll out pastry onto a lightly floured surface to about 3-4mm thick. Lay over the rolling pin and gently transfer the dough onto pastry tin. Line the case with baking paper and fill the case with blind baking beads (you can also use lentils or rice if you don't have baking beads). Bake for 10 minutes, then remove the weights and continue to bake for another 5-7 minutes or until the inside of the case is light golden in colour. Set aside to cool completely before filling. 

For the lemon filling, zest and juice the lemons. Reserve 250ml lemon juice and the zest separate. To make the lemon curd, place the juice, sugar and eggs in a Thermomix bowl. Cook at 90c for 9 minutes on speed 3. If using a double boiler set up, whisk the lemon juice, sugar and eggs constantly for 10-12 minutes or until the consistency is thick and smooth. Meanwhile, soften the gelatine leaf in iced water for 5 minutes.

When the curd is thick, pour it into a clean bowl, then set it over another bowl filled with iced water. Whisk in the chilled butter, a few cubes at a time until complete combined. Squeeze out the gelatine leaf and add it to the mixture. Continue to whisk until the leaf is completely dissolved. Once the curd has cooled to about room temperature, pour into the pastry shell and set aside in the fridge for one hour. Keep refrigerated until serving. 

Gluten Free Gingernut Biscuit Berry Crumble

As seen on Channel 10's The Cook's Pantry

As seen on Channel 10's The Cook's Pantry

A lot of the food I cook for myself at home happens to err on the side of 'healthier'... simply because when I eat out, working on food shows or testing recipes, I'm not exactly going to not the pasta special, spit when judging cheese soufflé, or say no to the foie gras parfait.

IMG_1229.JPG

This berry crumble recipe came about one recent cold night when I felt like something warm and comforting without wanting to go OTT on the indulgence factor. I like to keep frozen berries on hand for smoothies, and quick snacks because they're a great way to get a sweet hit without reaching for the chocolate every time (not to mention, they're a great antioxidant and vitamin boost).

This recipe happens to be gluten free, but if that doesn't bother you, you can always substitute with your favourite sweet biscuits (milk arrowroot or shortbread would be ACE!). If you're dairy free, feel free to replace the butter with coconut oil, but work quickly with your hands, so it doesn't melt completely.

Screen Shot 2017-10-11 at 10.58.16 pm.png

Serves 1 sweet fiend or 2 normal people

Ingredients

3-4 gluten free biscuits

2 tbs almond meal

A good knob of butter

1 pinch ground cinnamon

1 pinch sea salt

1 cup frozen mixed berries

A drizzle of honey

Method

Preheat your oven to 180c. Place the biscuits inside a clean tea towel and using a rolling pin or a heavy saucepan, bash the biscuits up into uneven, crumbly chunks (you could use a food processor, but that'd be far too civilised and quite frankly, you want chunks of biscuit to exist, rather than a fine, uniform crumb). In a bowl, rub together the crushed biscuits, almond meal and butter with your fingers until it comes together as a coarse crumb. Add in the cinnamon and salt and lightly combine. 

Pour the berries into an oven proof ramekin. Drizzle with honey and top with the crumble mixture. Bake for 10-15 minutes or until the top is golden and the berries are bubbling and juicy around the edges of the ramekin. Serve with Greek or coconut yoghurt...or a little double cream if you're feeling like taking it there.